SCULPTING SEAMLESS TEXTURE WITH ZBRUSH
3dsMax • ZBrush
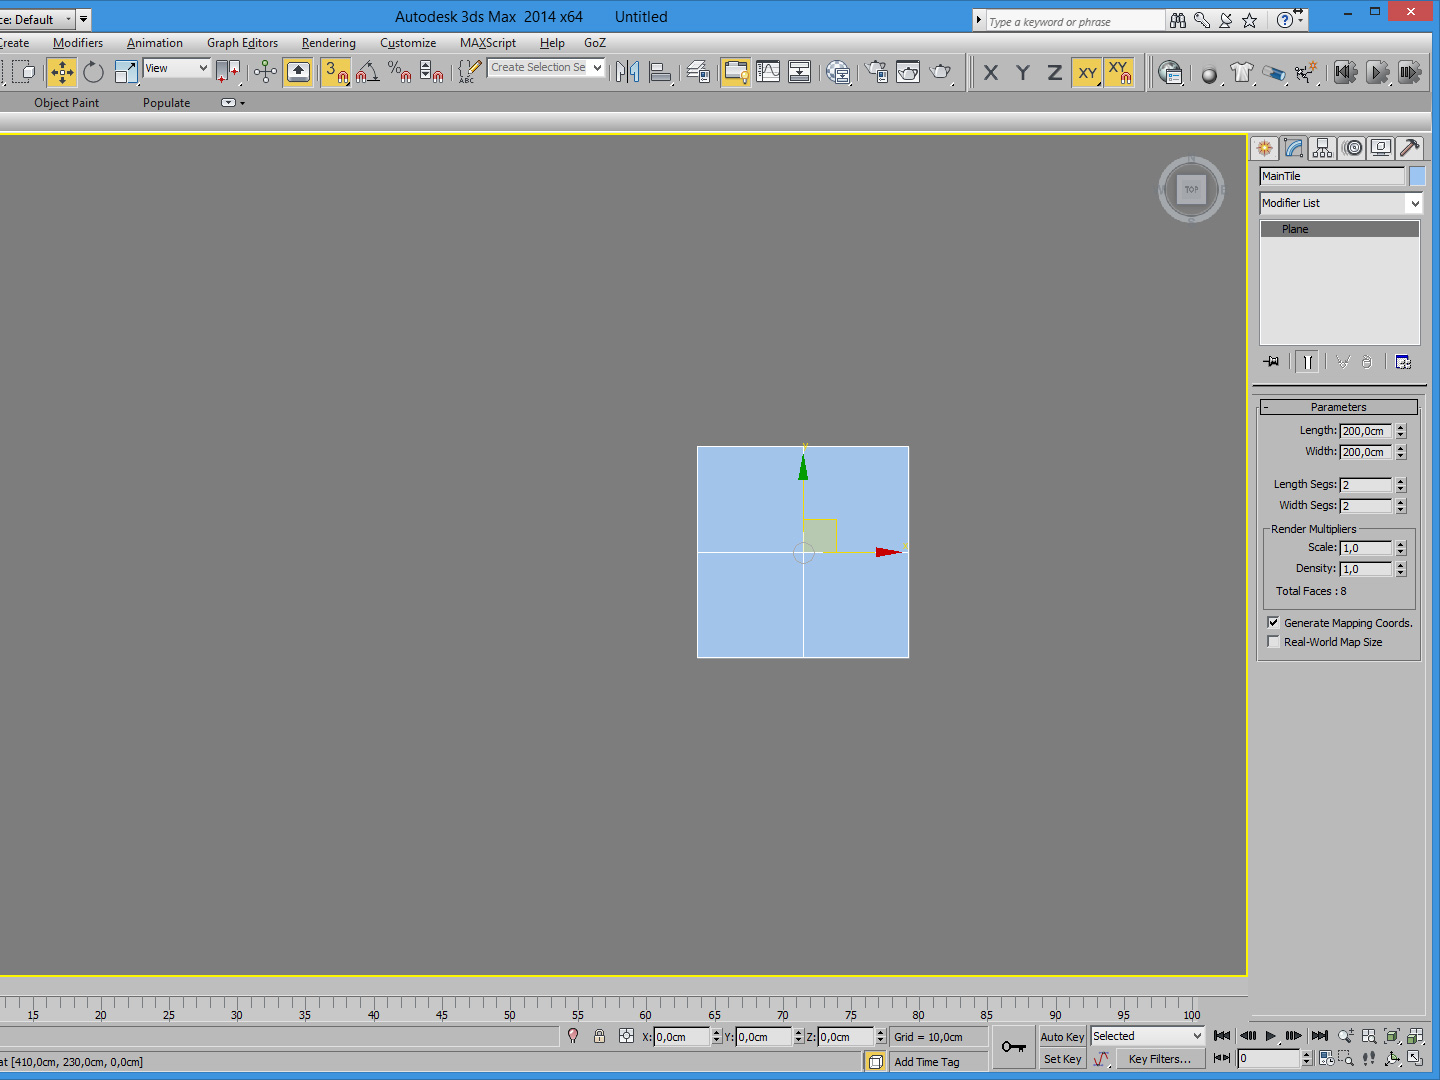
- Create -> Standard Primitive ->Plane
- Set the plane size to 200cm x 200cm
- Set the Lenght / Width Segs to 2
- Convert your primitive to an Editable Poly
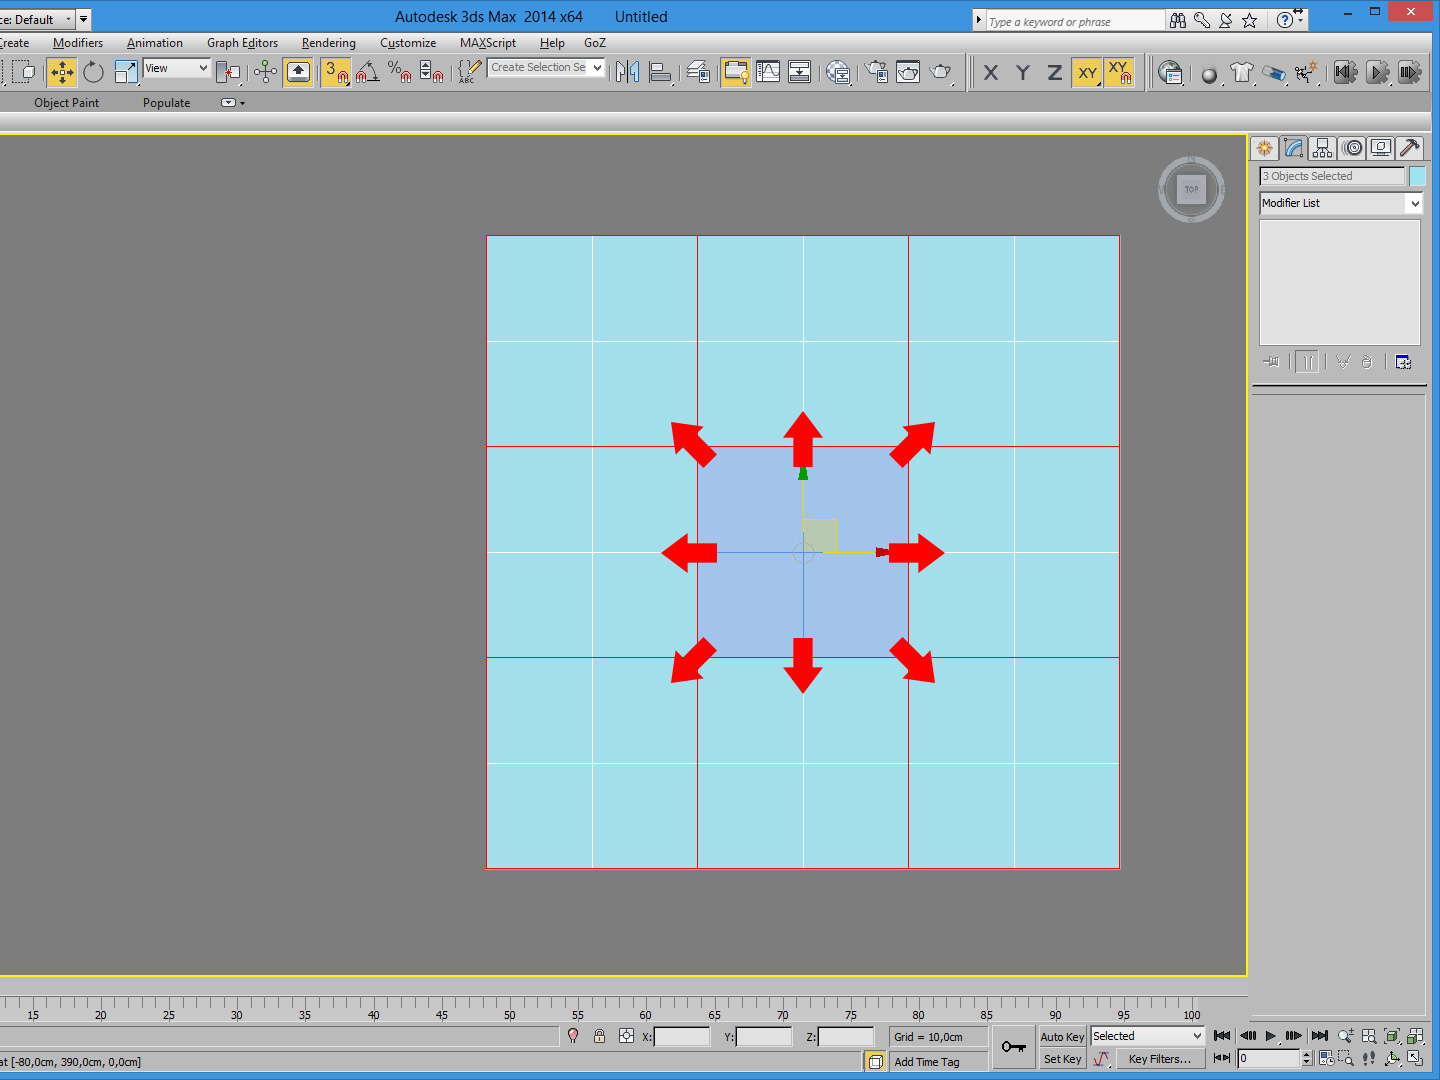
- Clone the object several times around your main tile
- Attach in a single mesh
- Weld vertices
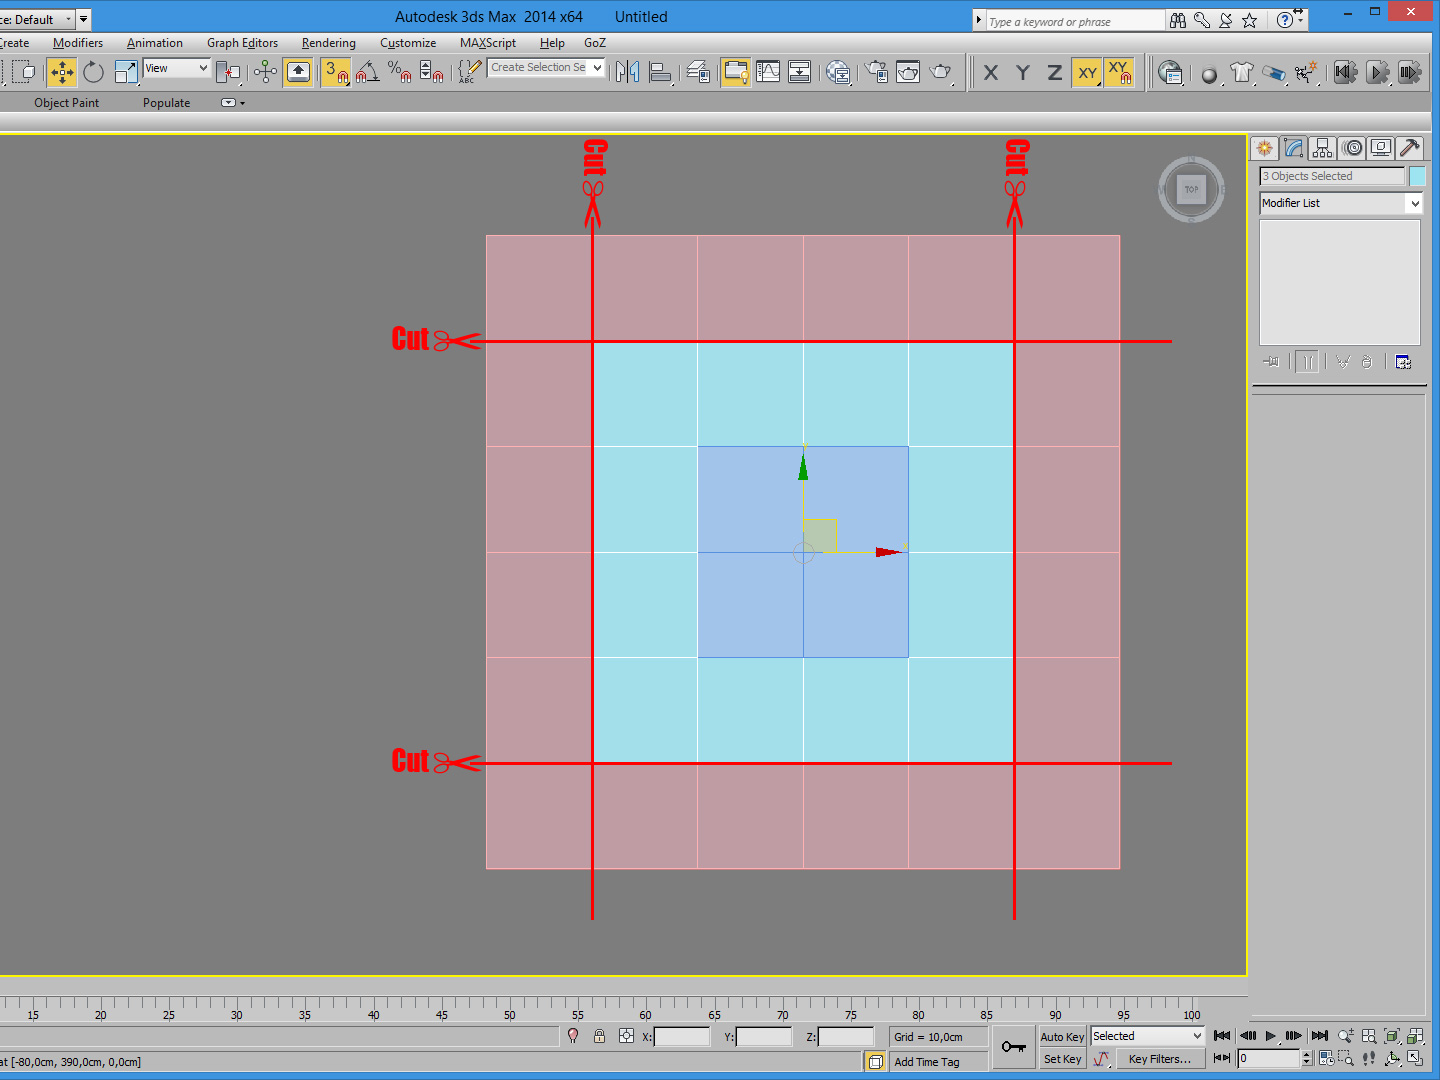
- Cut half tile in each side
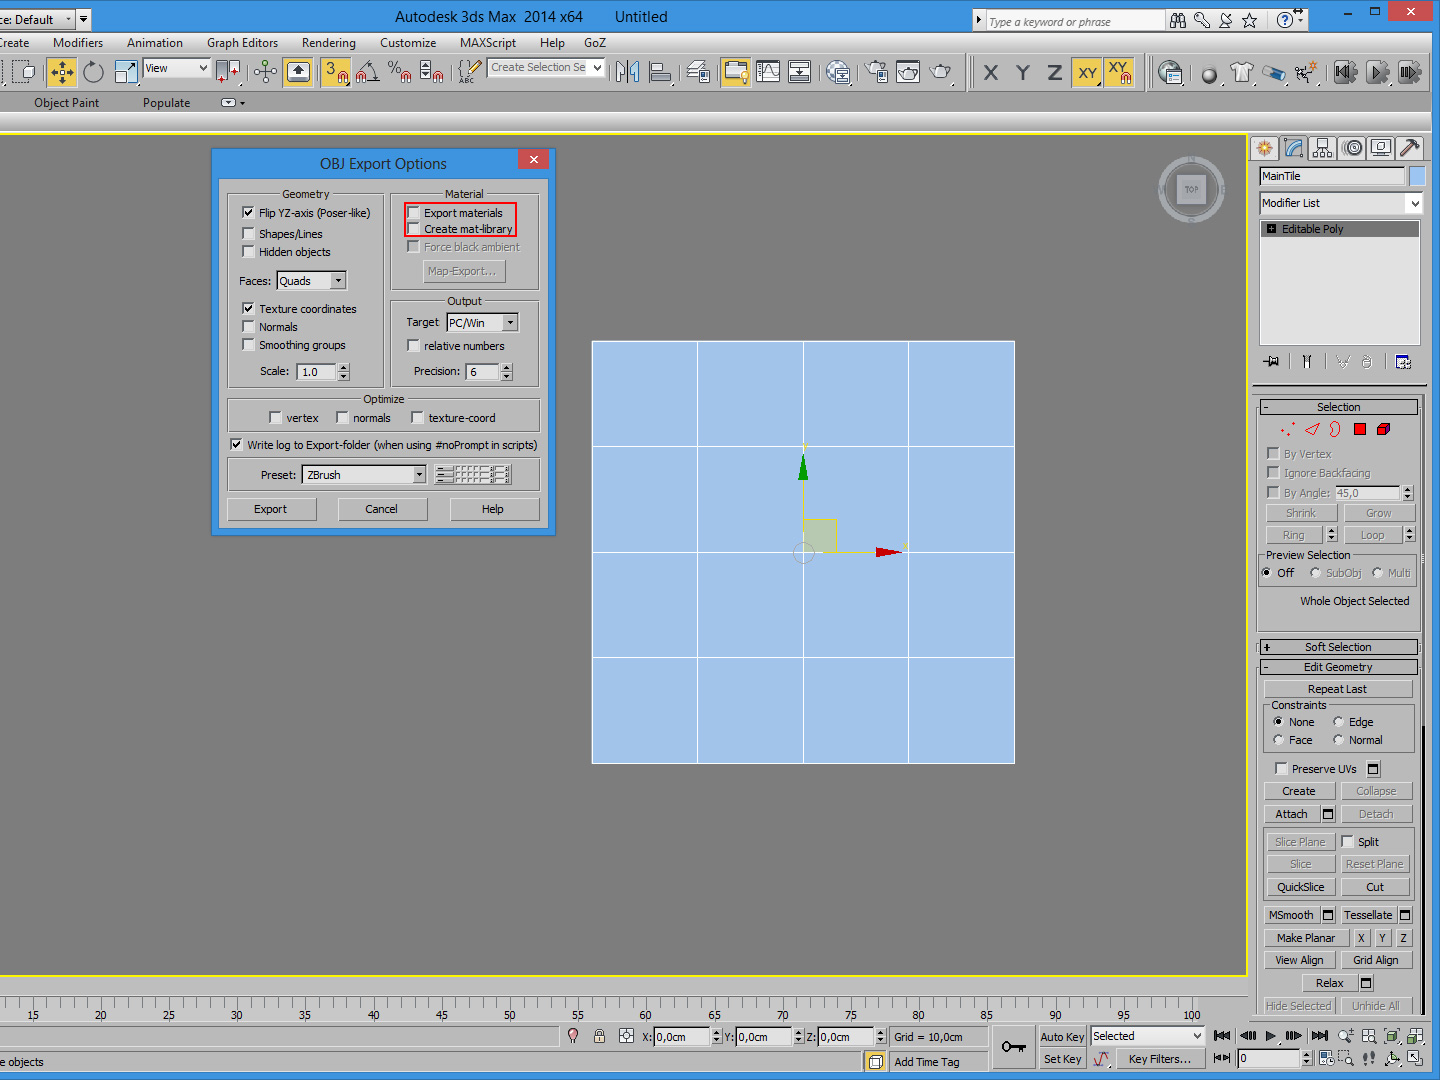
- Choose your object -> File -> Export Selected
- Export as OBJ file format with the Zbrush preset and Export Material / Create Mat-Library unchecked
Alternatively you can Export directly in Zbrush with 1 Click with the GoZ feature (if installed and correctly setup in your 3dsMax/Zbrush)
- Tool -> Load Tool -> Choose your .OBJ file
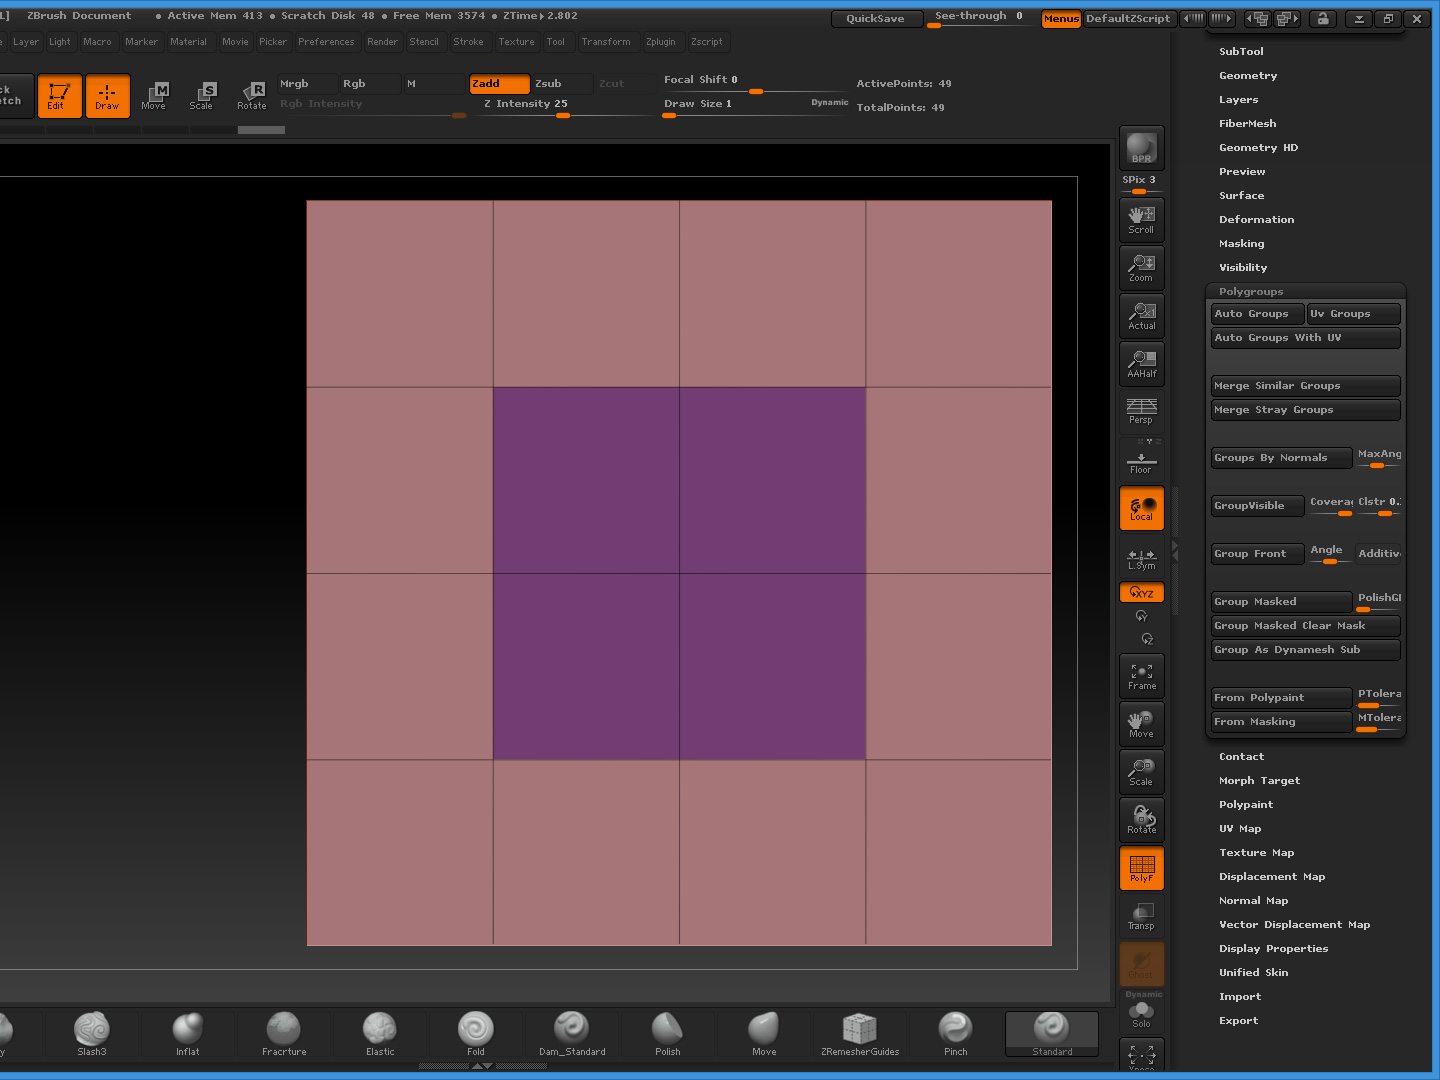
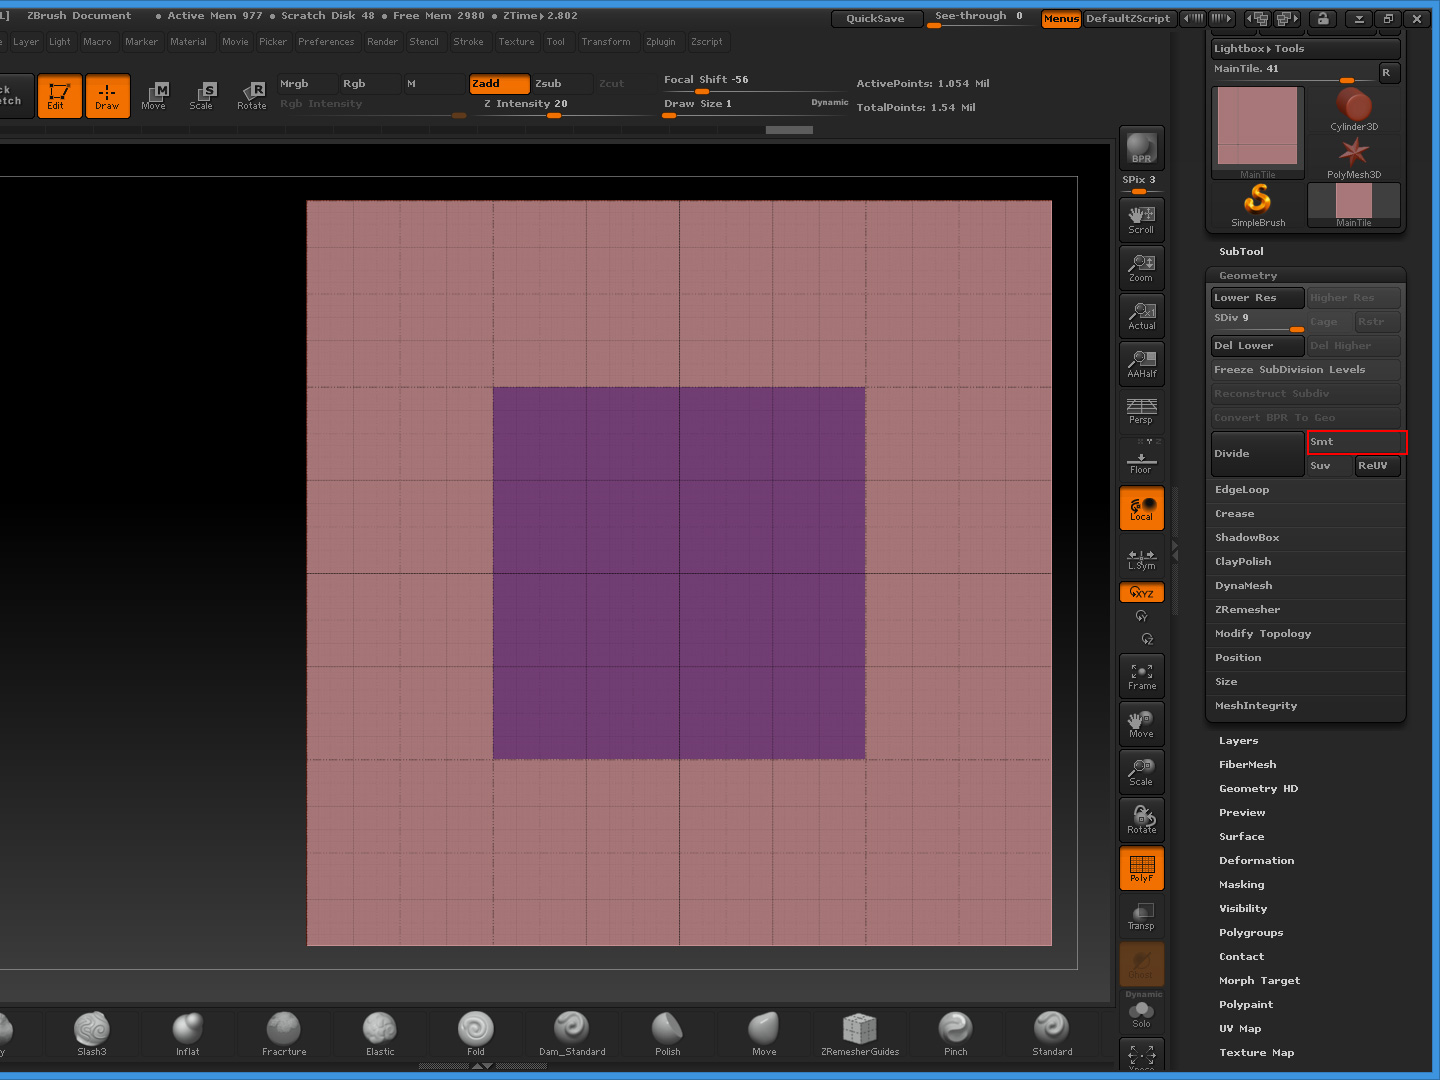
- Shift + F to display Polygroups
- Ctrl + Alt + Shift and select the enlarged part of your tile to hide it
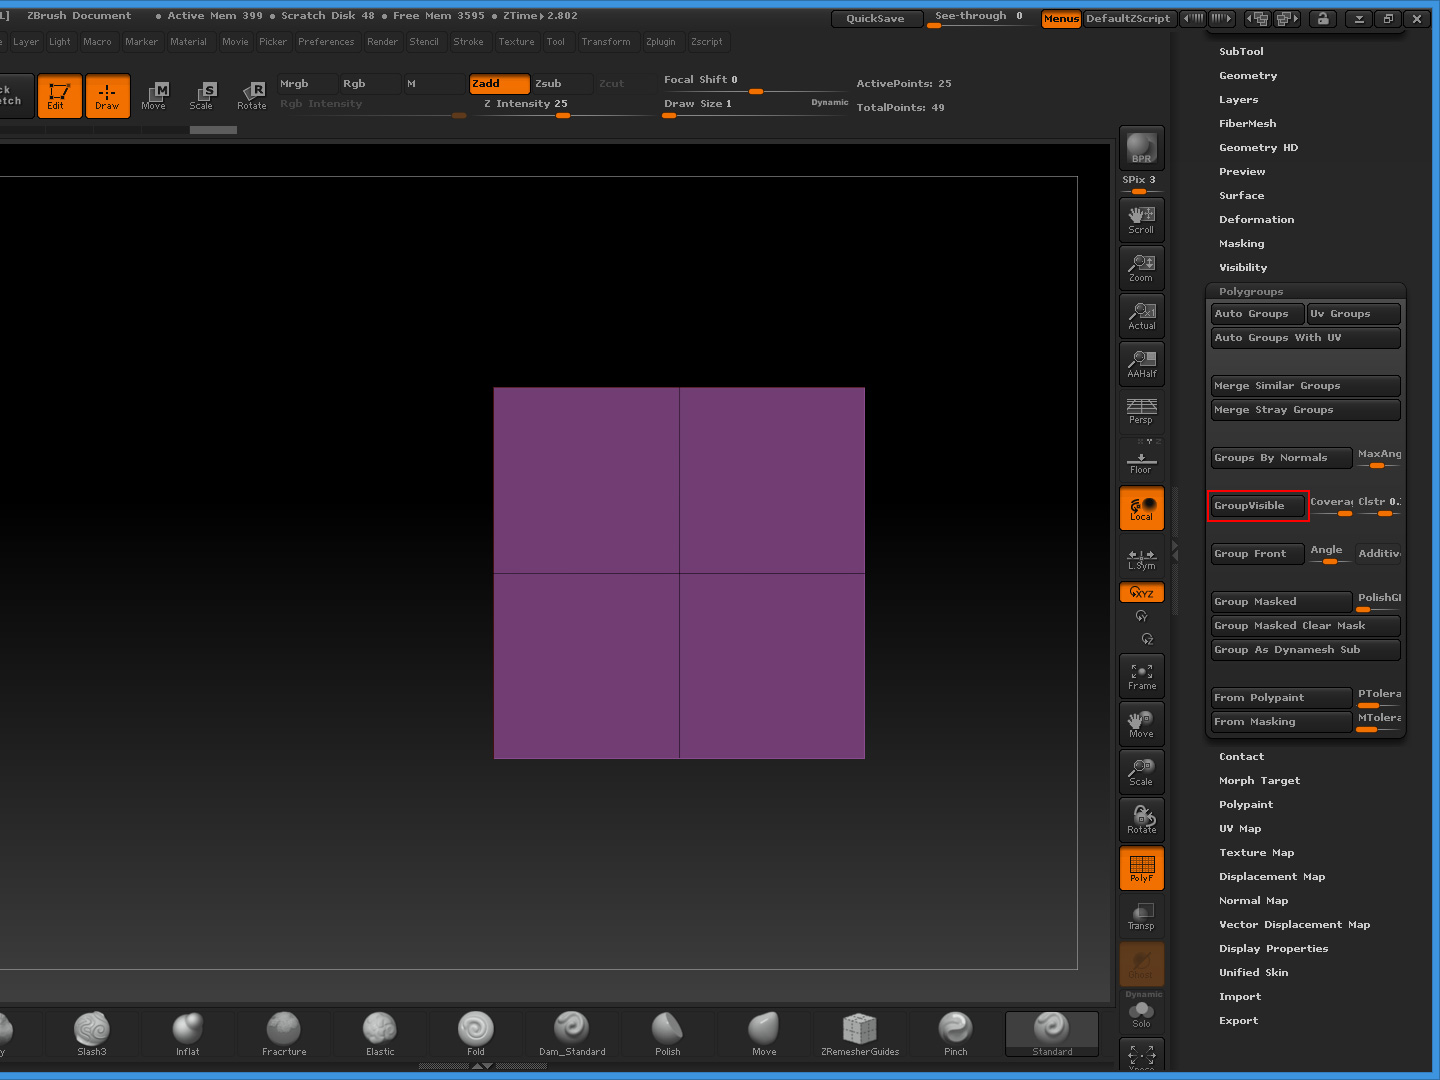
- Polygroups -> Group Visible to make a Polygroup for the visible polygons
- Ctrl + Alt + Shift in a empty space to Unhide all
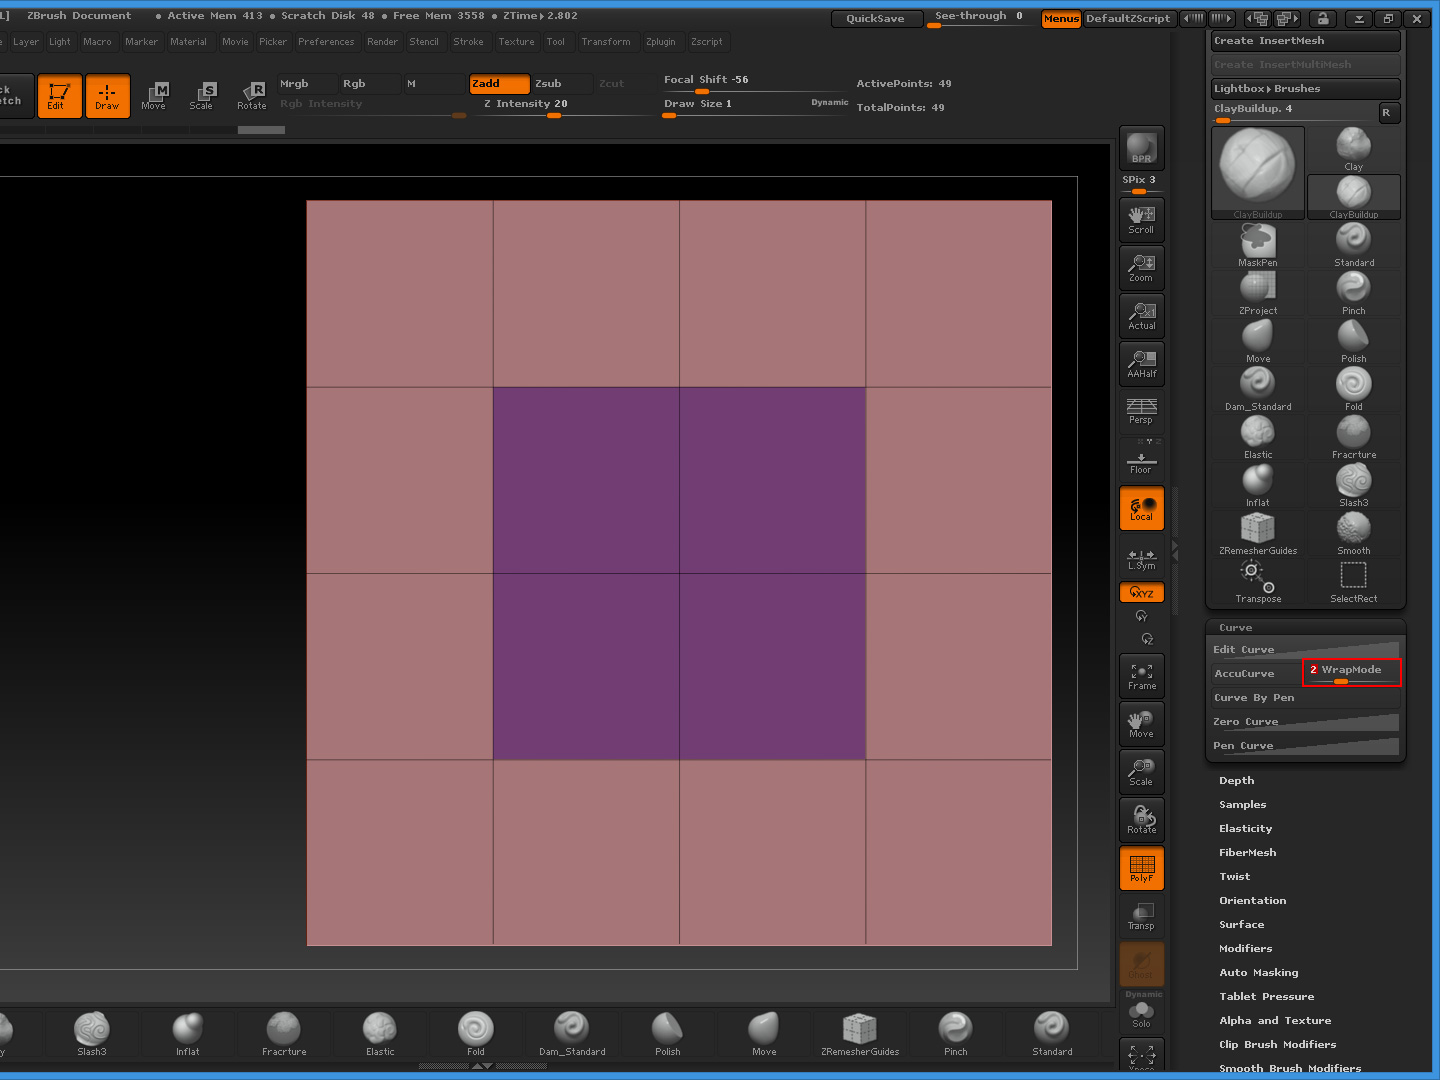
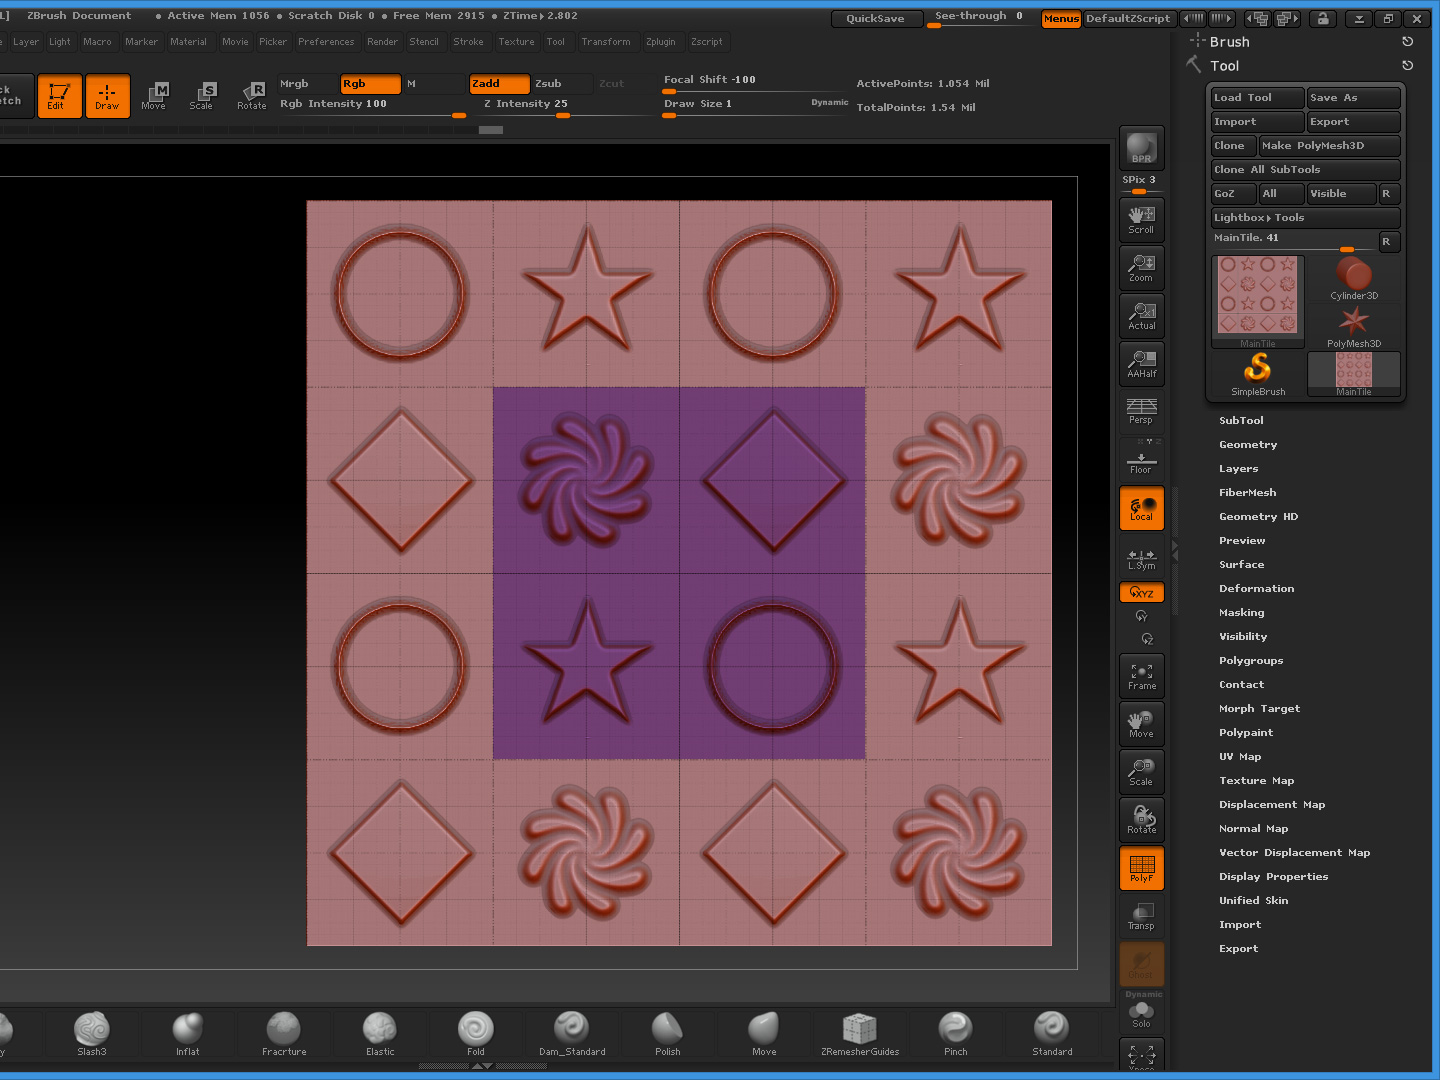
- For any brush you want to use (also the Smooth brush, used holding Shift key), you need to set the wrap mode to a value of 2
- Brush -> Curve – > WrapMode 2
- Geometry -> Uncheck Smt option to prevent the smoothing of the geometry when subdivided
- Divide at least 9 times (1.000.000 of points c.a.)
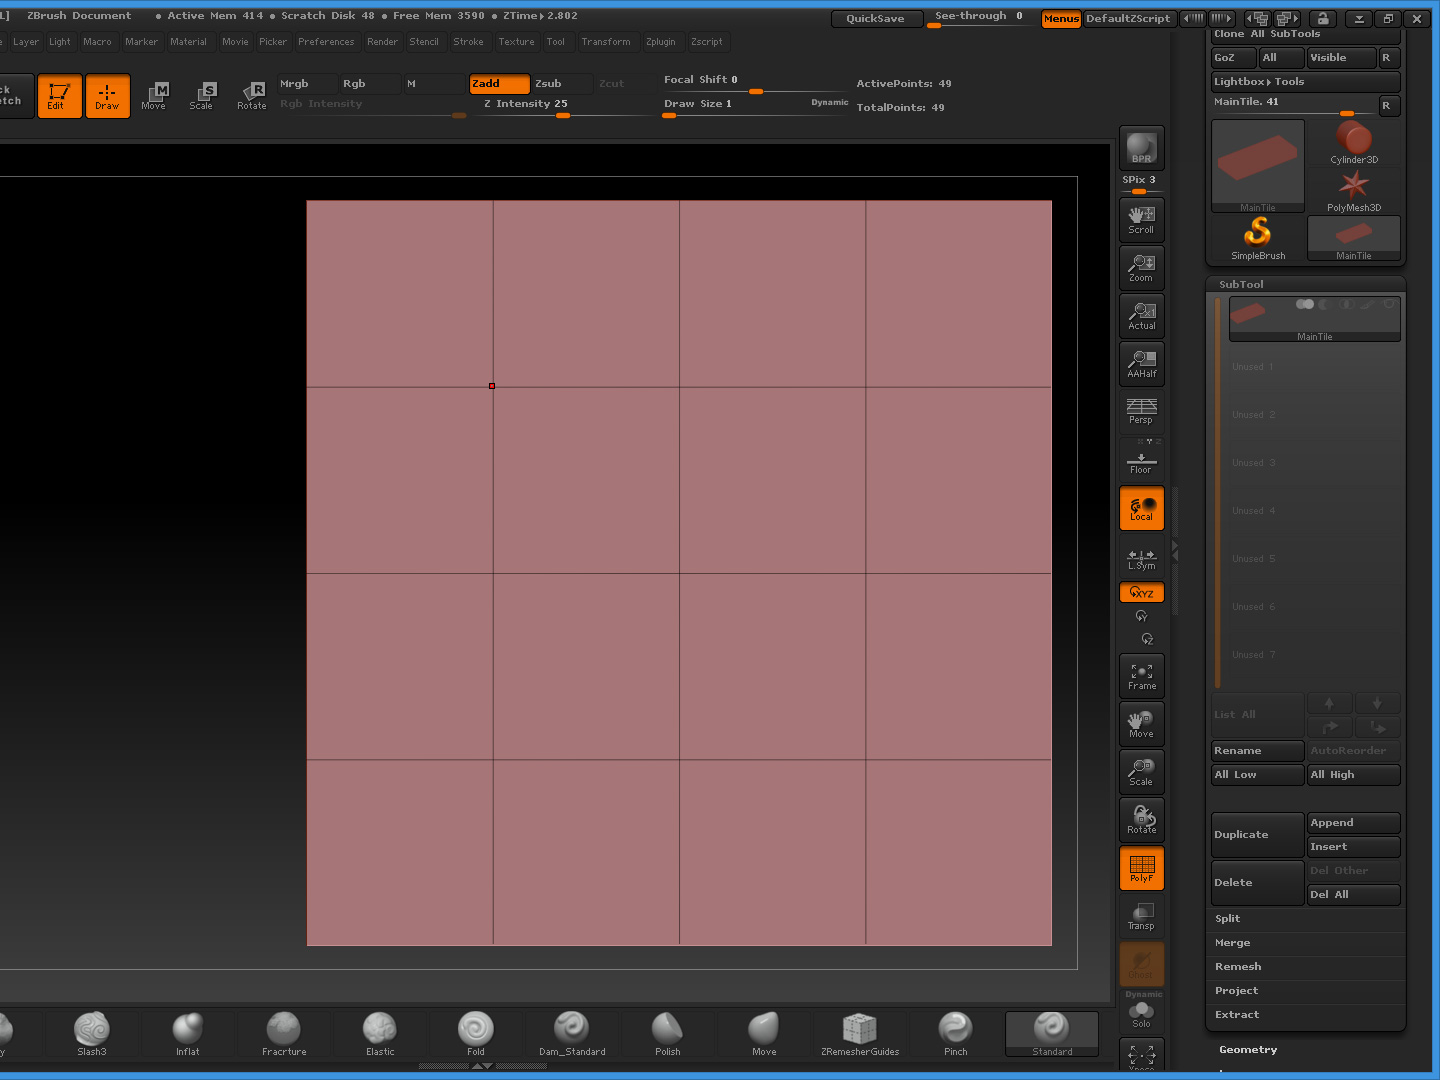
Your object main tile is in the middle, and you have a half tile for side to sculpt comfortably.
Not all the brushes works with the wrap mode (for example the Insert Mesh)
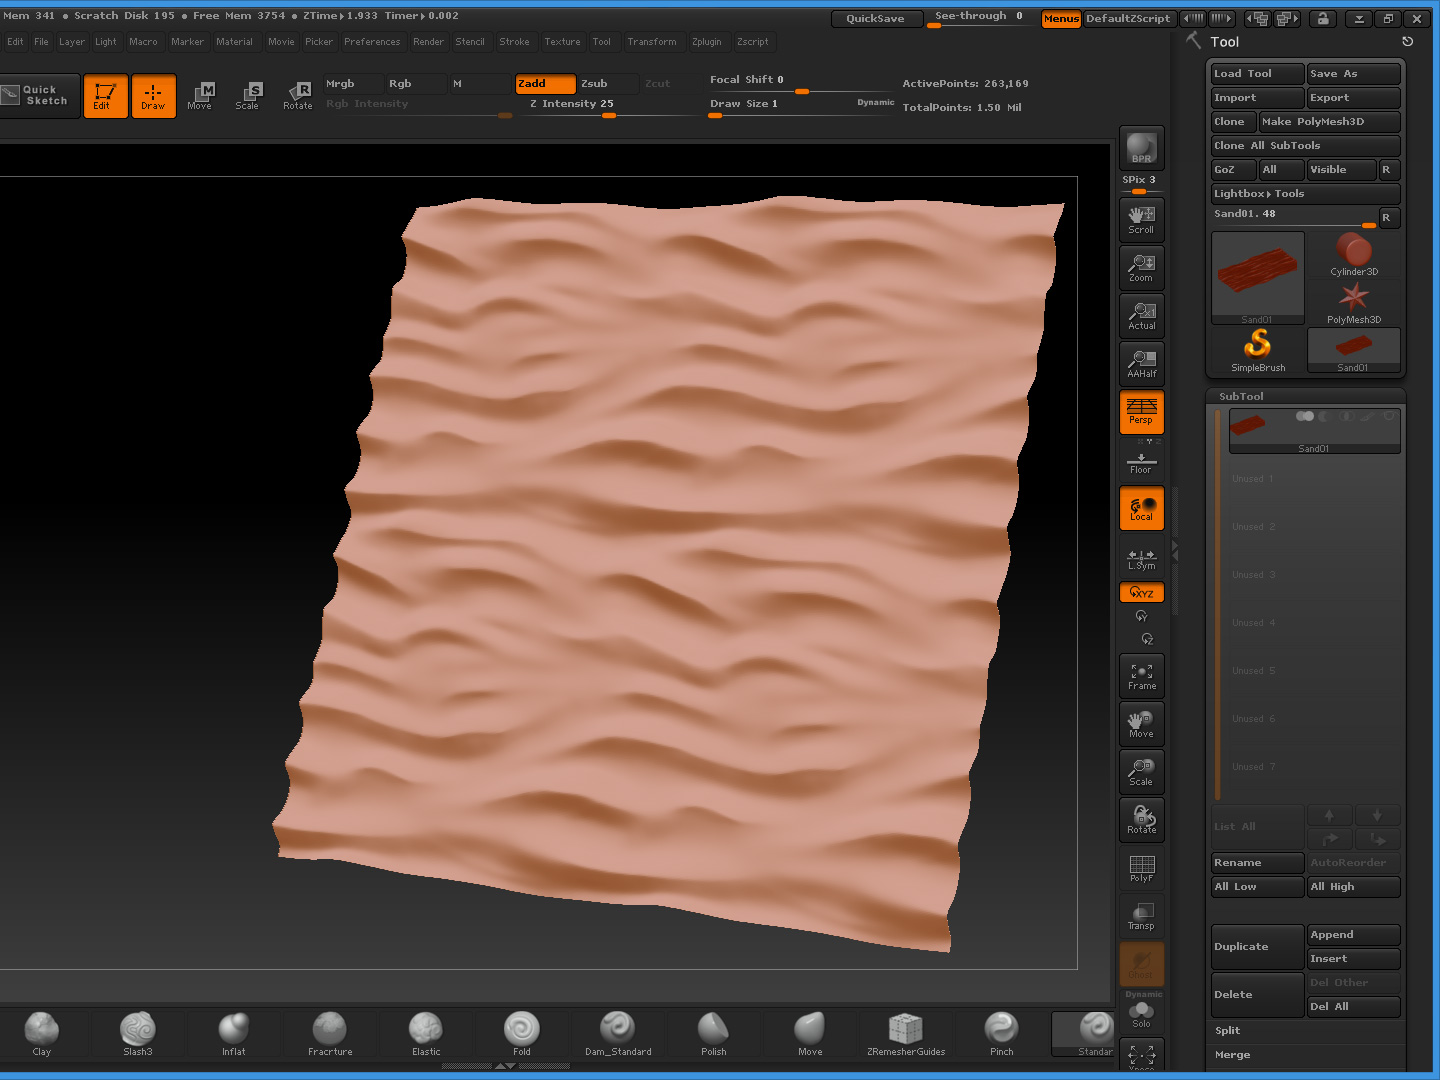
- Export your highres model from ZBrush
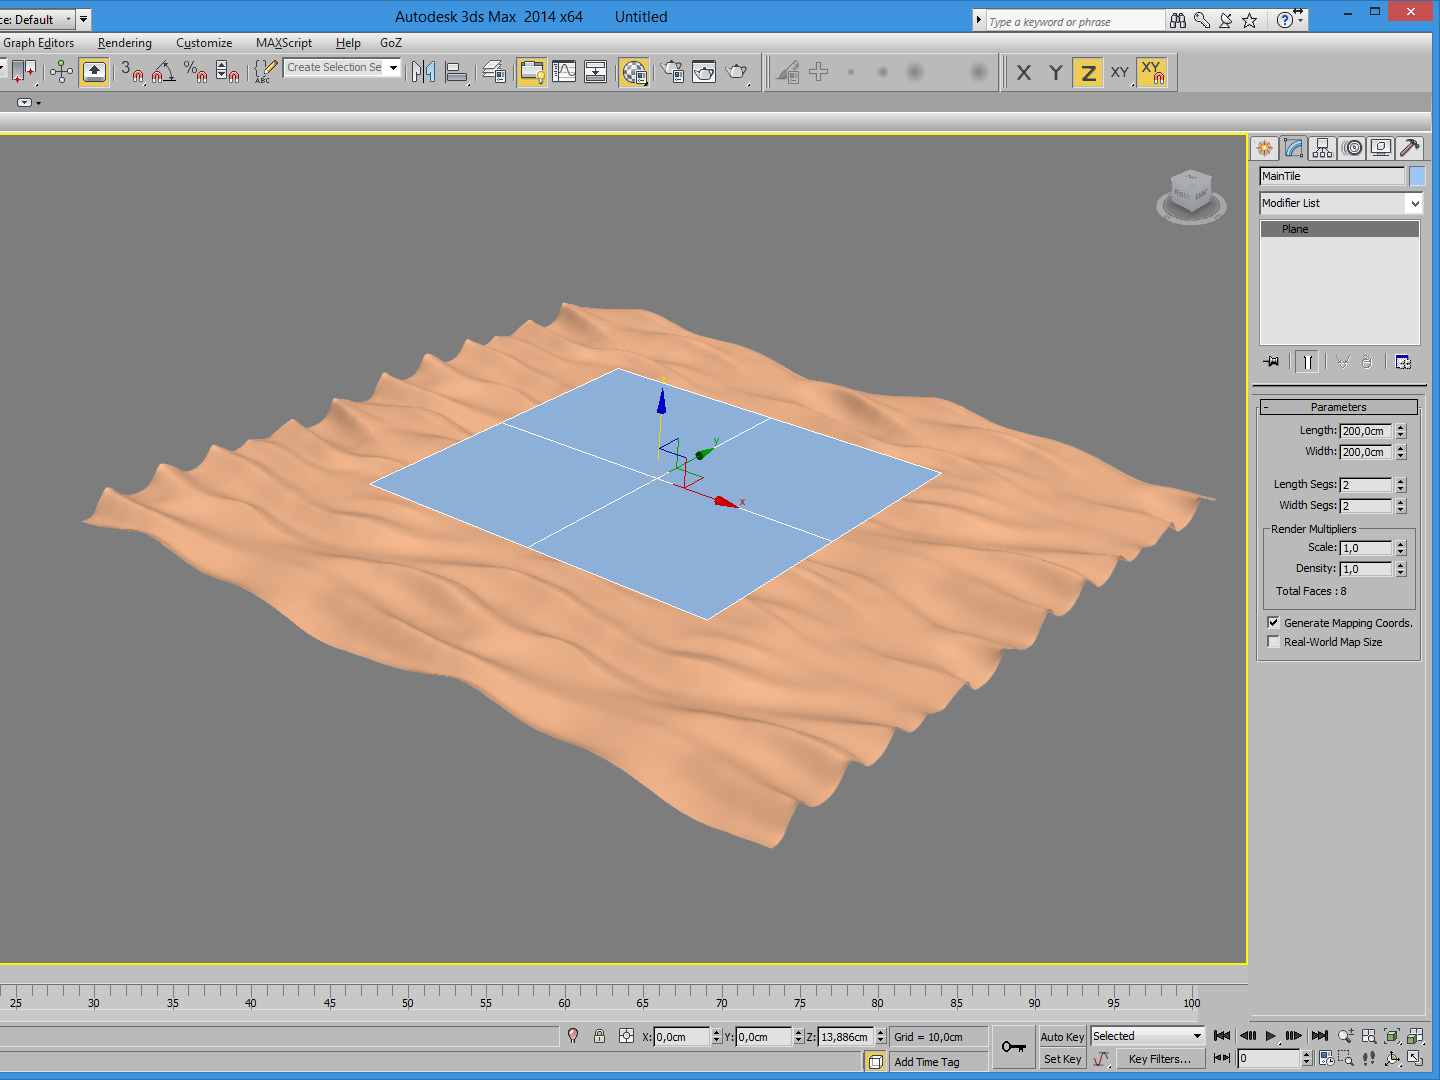
- Import the higres model in 3ds max
- In 3ds max create a plane 200cm x 200cm
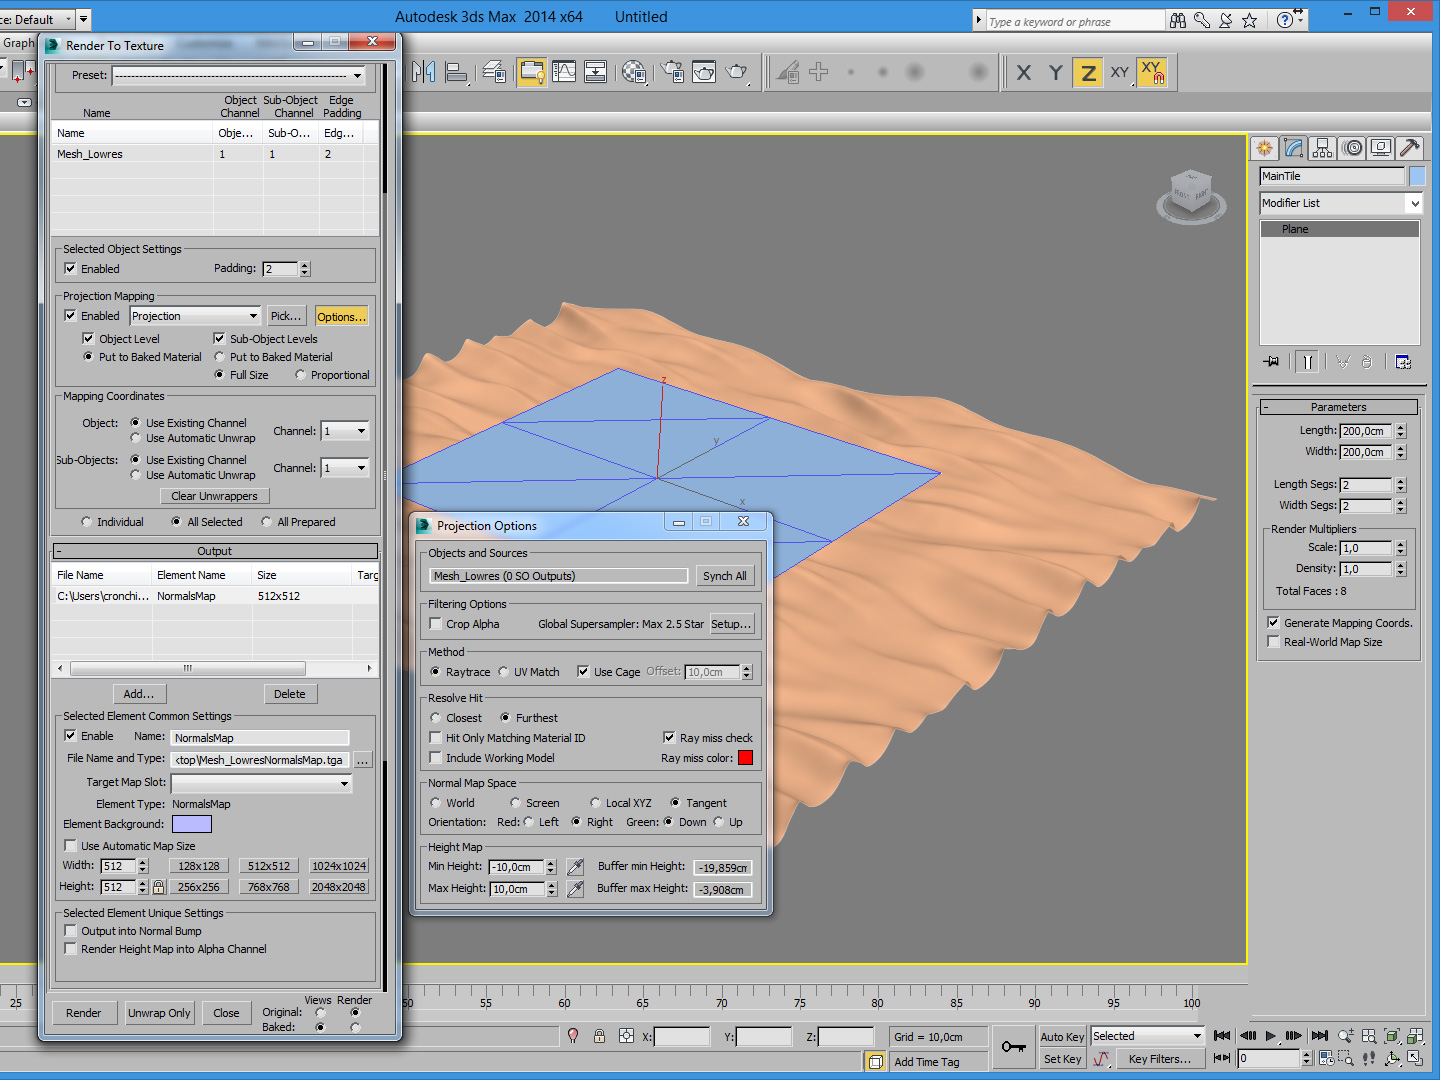
- With the plane selected, go to Rendering -> Render To Texture
- Under render settings choose the preset 3dsmax.scanline.no.advance (the first inthe dropdown list)
- Go back in the render to texture window, enable Projection Mapping and pick your Highres Model
- Click Option and under Filtering Otions Press setup and uncheck “Disable all Samplers”
- Mapping coordinates “use existing channel” for object and Sub-Objects
- Under output add Normals Map elements and choose the texture Width/Height and the file output name/path
- Press render
