THE MAKING OF THE DARK KNIGHT
Modeled with ZBrush and 3ds Max • Rendered with Vray • Composited with After Effects
The software involved in the realization of this project was:
- [files management] Dropbox
- [retopology, UV mapping] 3ds Max 2014
- [sculpting, texturing] ZBrush 4R6
- [texturing] Photoshop CS6
- [pre-lighting, shading] Marmoset Toolbag 2
- [rendering] Vray 1.5 SP6
- [post-processing] After Effects CS6 + Red Giant Particular + Video Copilot Optical Flares
www.dropbox.com
www.autodesk.com/products/autodesk-3ds-max
pixologic.com/
www.adobe.com/it/products/photoshop
www.marmoset.co/toolbag
www.chaosgroup.com/
www.adobe.com/it/products/aftereffects
www.trapcode.com/trapcode-suite/
www.videocopilot.net/products/opticalflares/
My goal for this work was to create a Batman posing, with a single shot and without the need of animation. Most of the choices I’ve made are to be attributed to this purpose. Both the modeling and the mapping were not made with the intention to animate the character, in that case these wouldn’t be the optimal choices.
I chose to work with the Dropbox cloud system because I find it particularly effective, minimally invasive, and most of all has an essential function called “versioning” that I use on a daily basis at work.
This system keeps track of every save you make on your files (only those in the selected folders) and allows you to recover any previous save you want.
It is also very convenient if you work on different computers (such as your home computer and your workstation) because it allows you to have all your data in synced to the latest valid version without worrying about manual updating.
If you are interested, the Membership is free and if you use my referral link we’ll both have additional 500mb space: https://db.tt/HcTZR4s
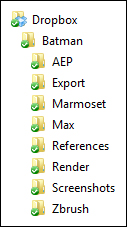
In the figure on the right you can see the folder structure that I chose to use:
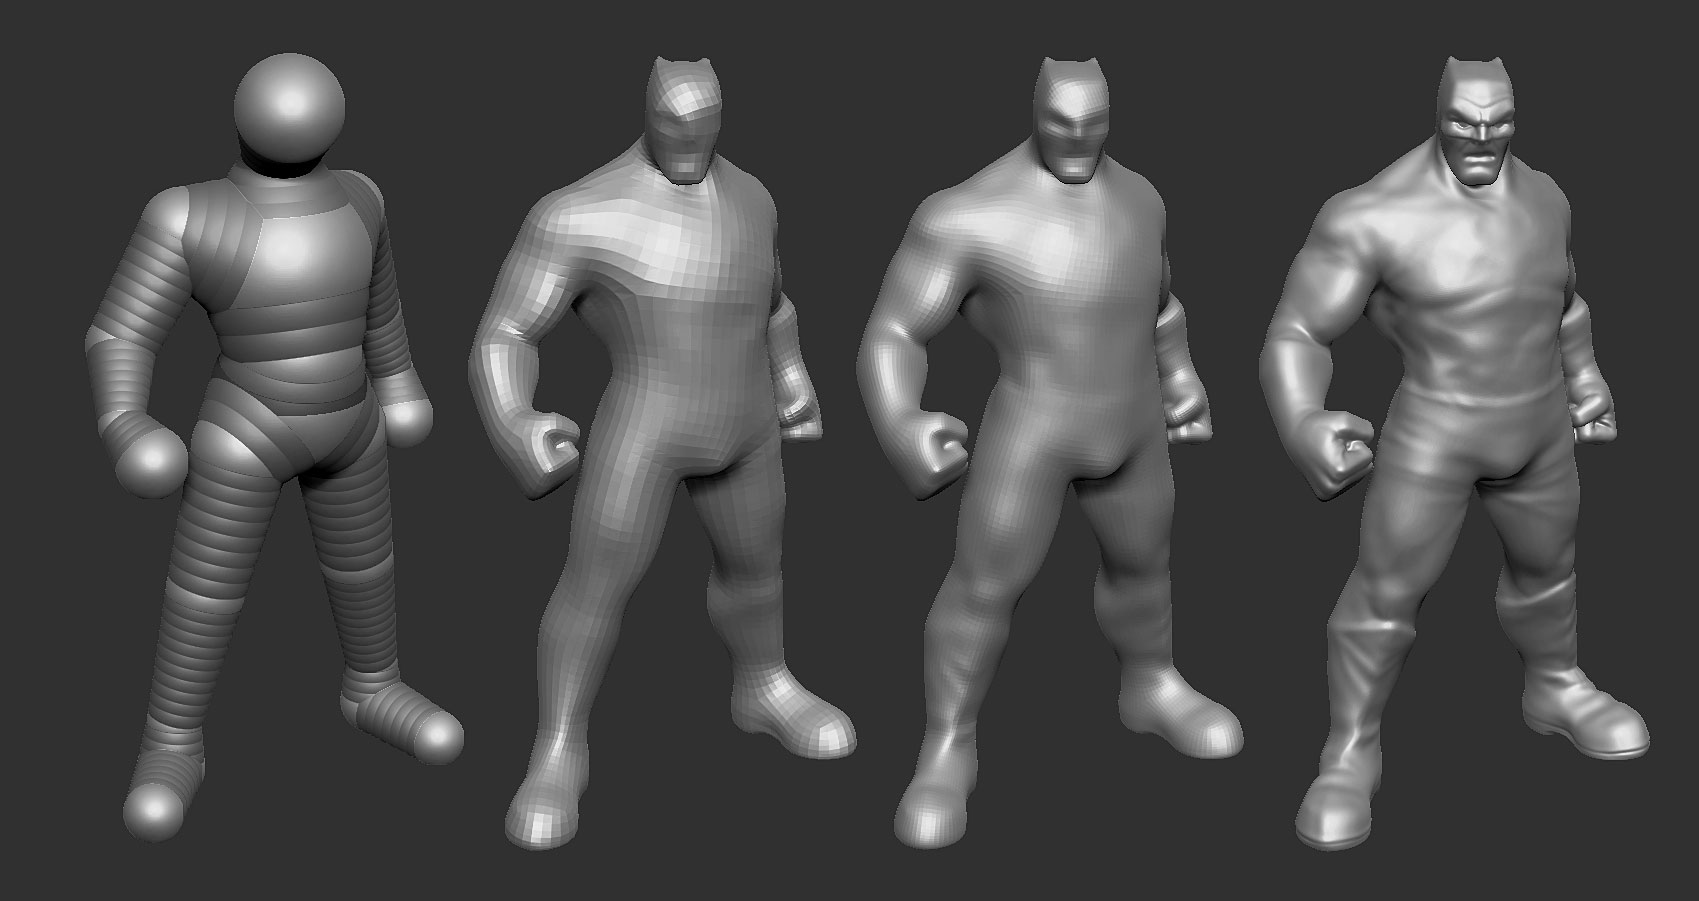
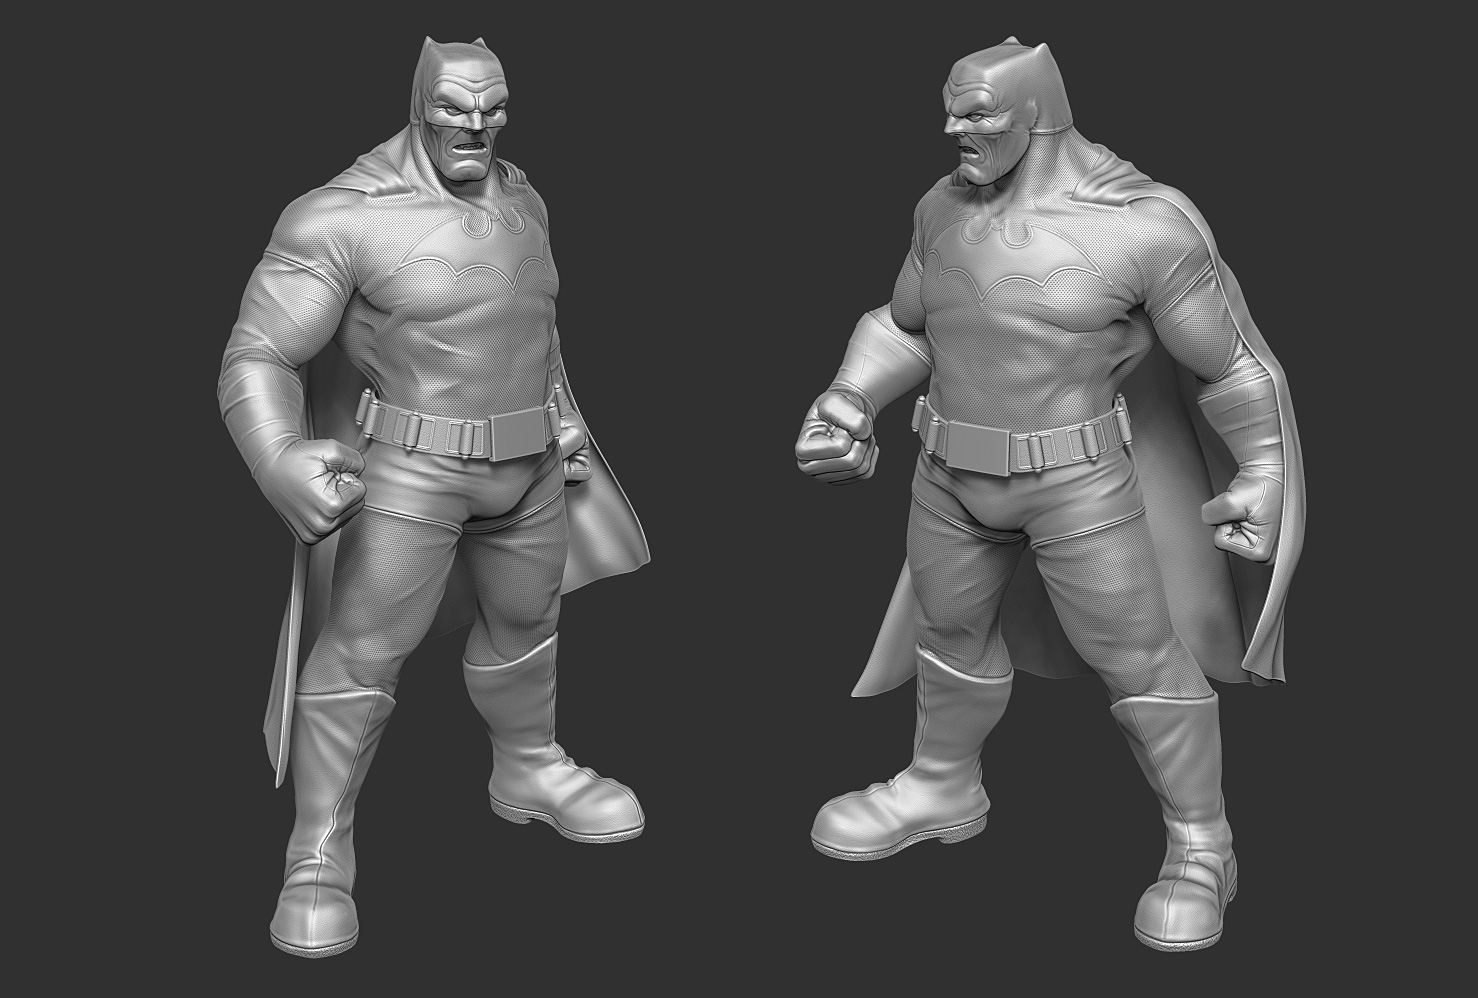
For modeling I started sketching the structure of the character with ZSpheres, so that I would have the right volumes and a uniform topology quickly.
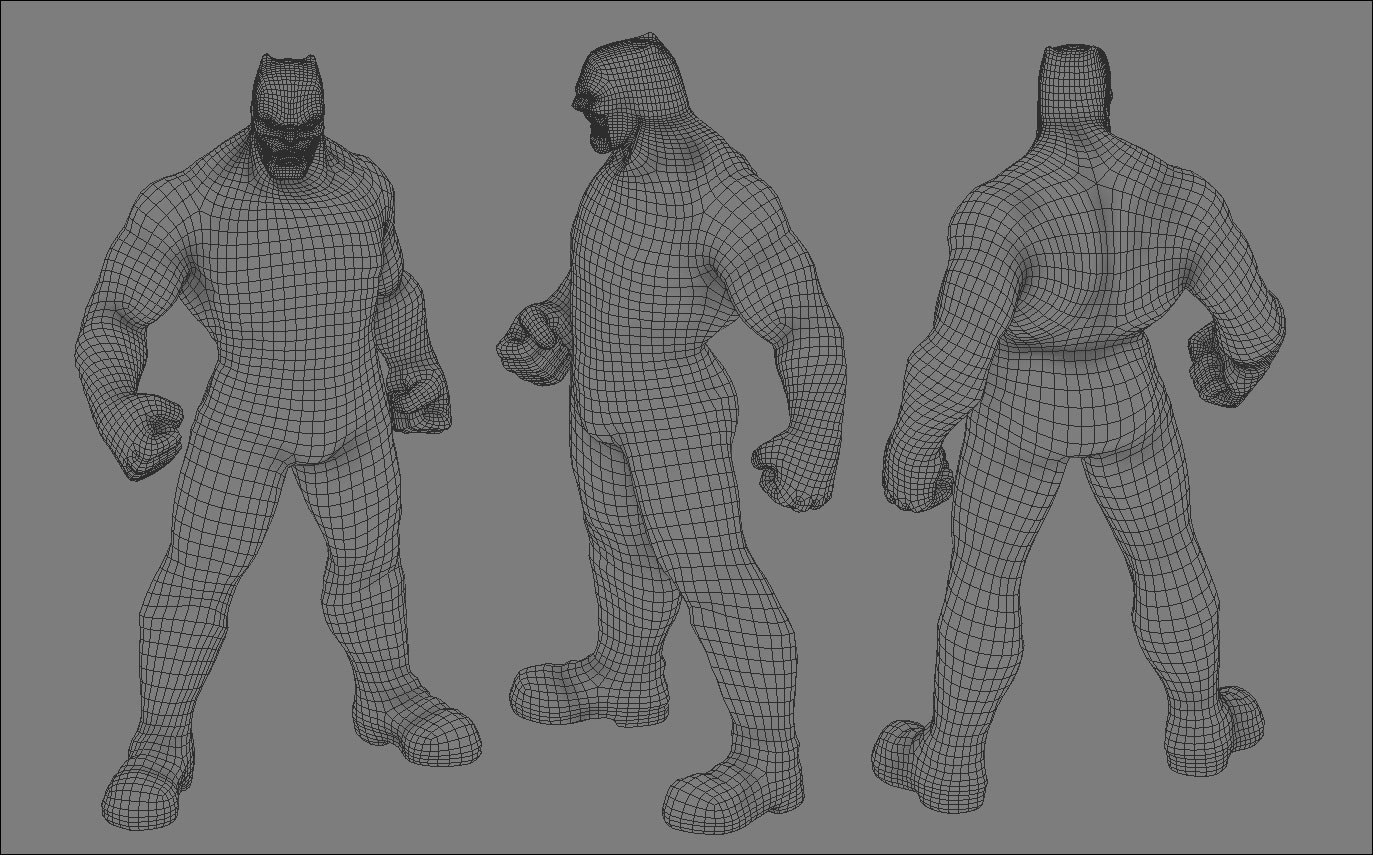
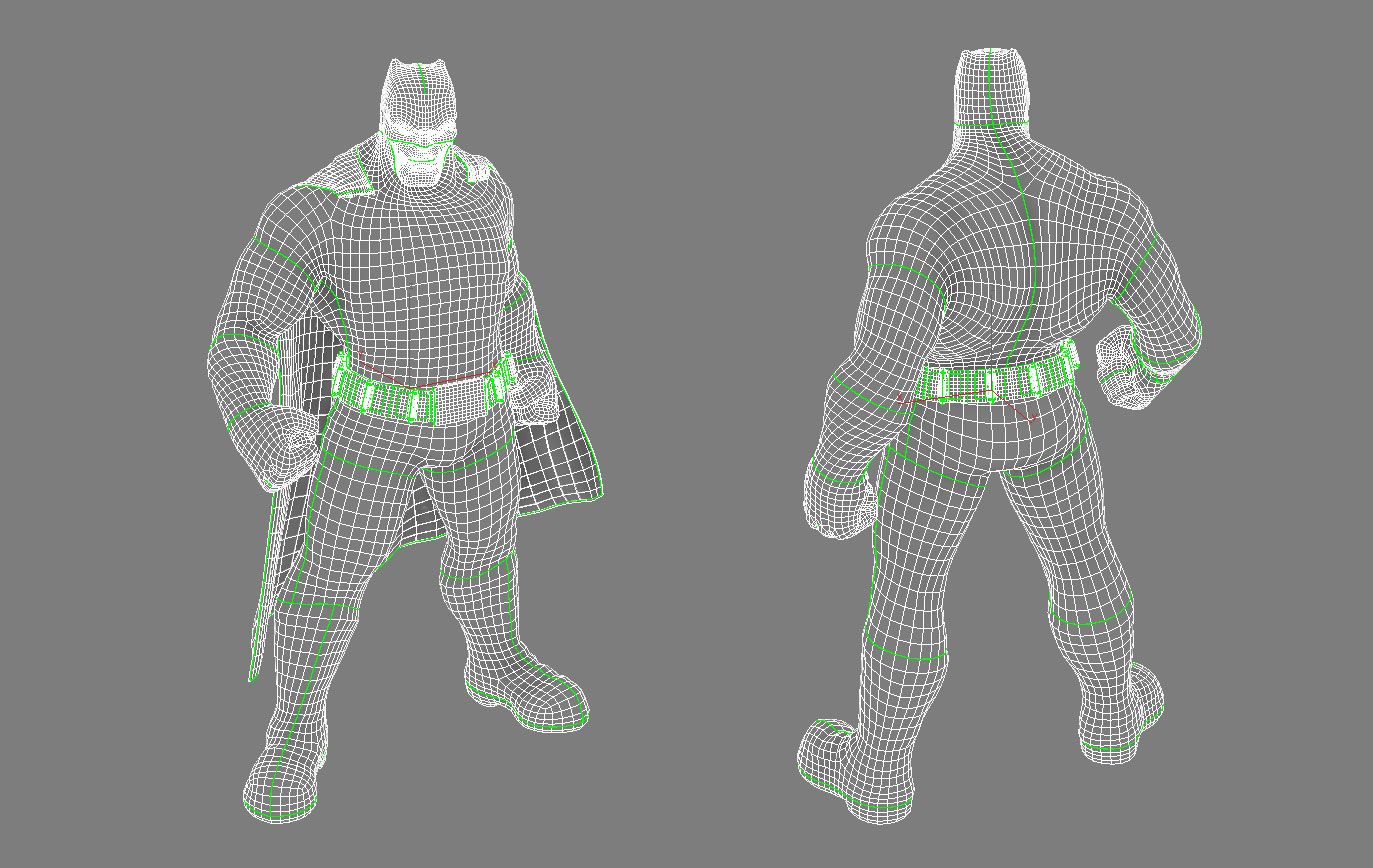
I started to sculpt adding more and more details until a retopology of the model was necessary, which I made in 3ds Max thanks to the excellent graphite tools.
For most situations, the brush I used was almost exclusively the ClayBuildUp.
I imported into 3ds Max the model I’ve made in ZBrush, made all the edges invisible ( to see the low-poly in “shade + wireframe” without being disturbed by the highpoly mesh) and assigned a standard material.
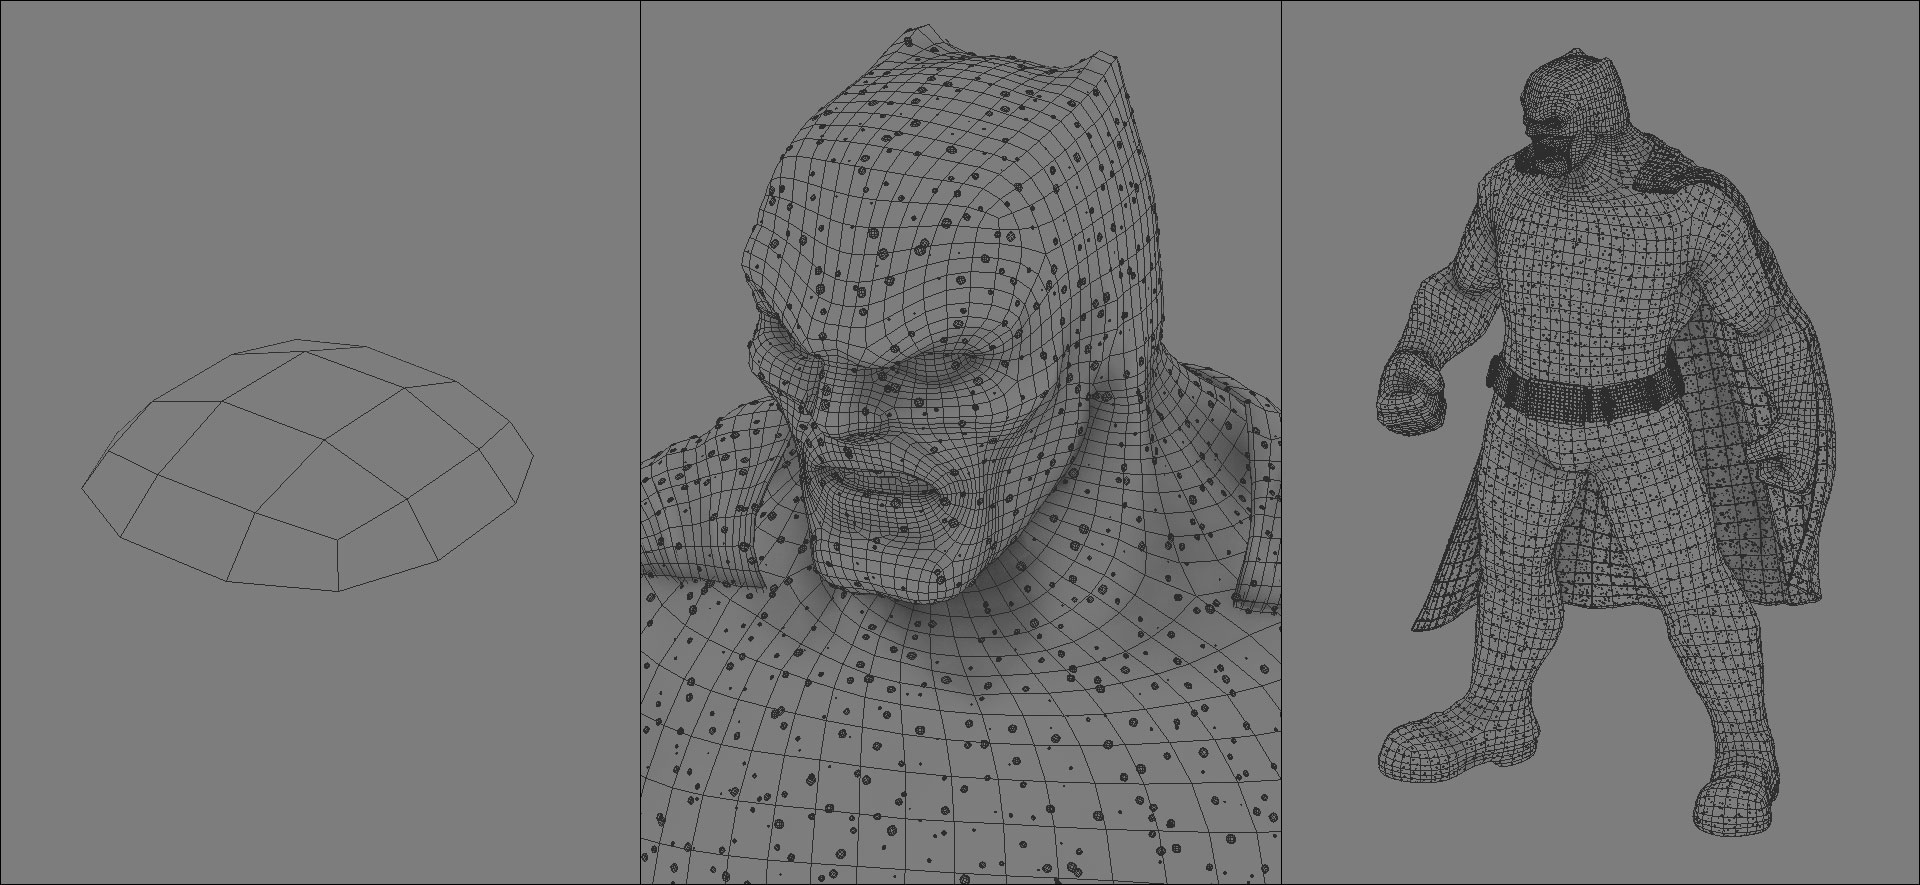
To retopolize, I started from a primitive box converted to edit poly, and all the work was done with “step build” and “extend the graphite tools”.
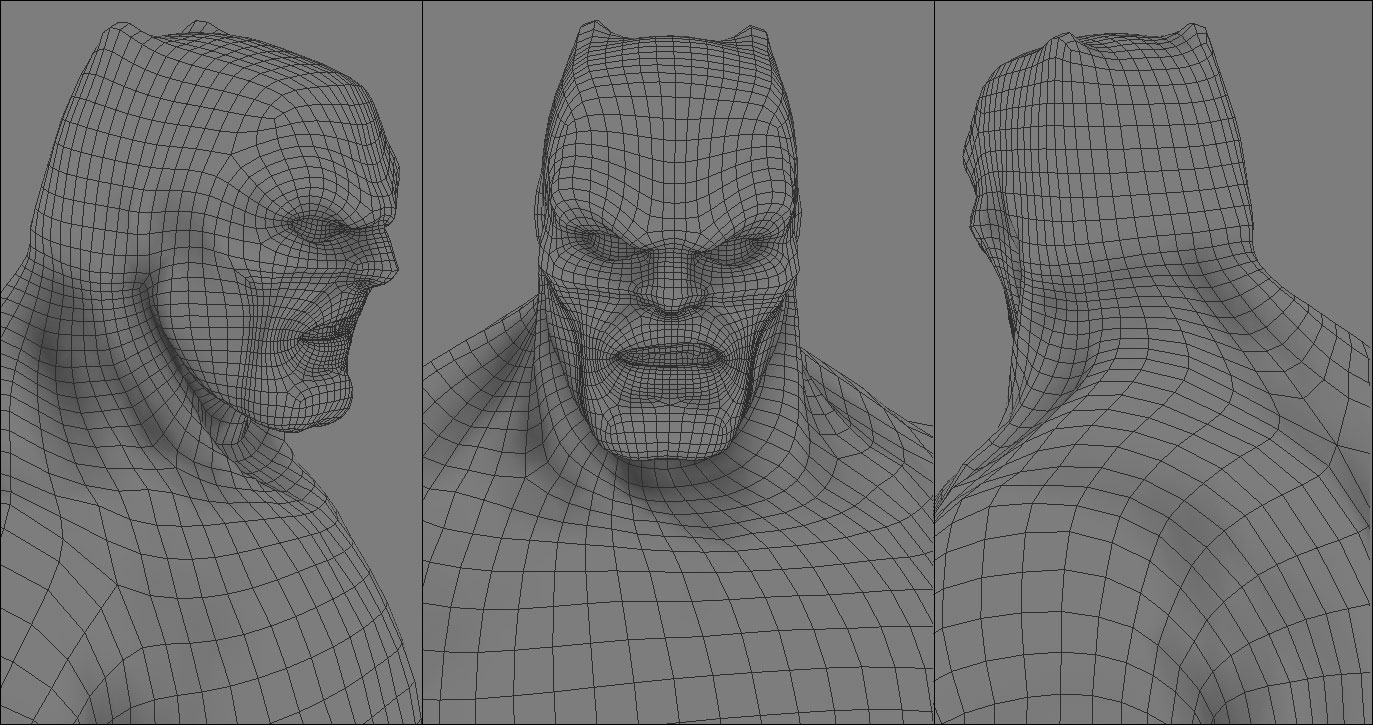
The level of detail is to generally homogeneous over the whole body, except of course on the face, where the polygons’ density is to about the double compared to the rest.
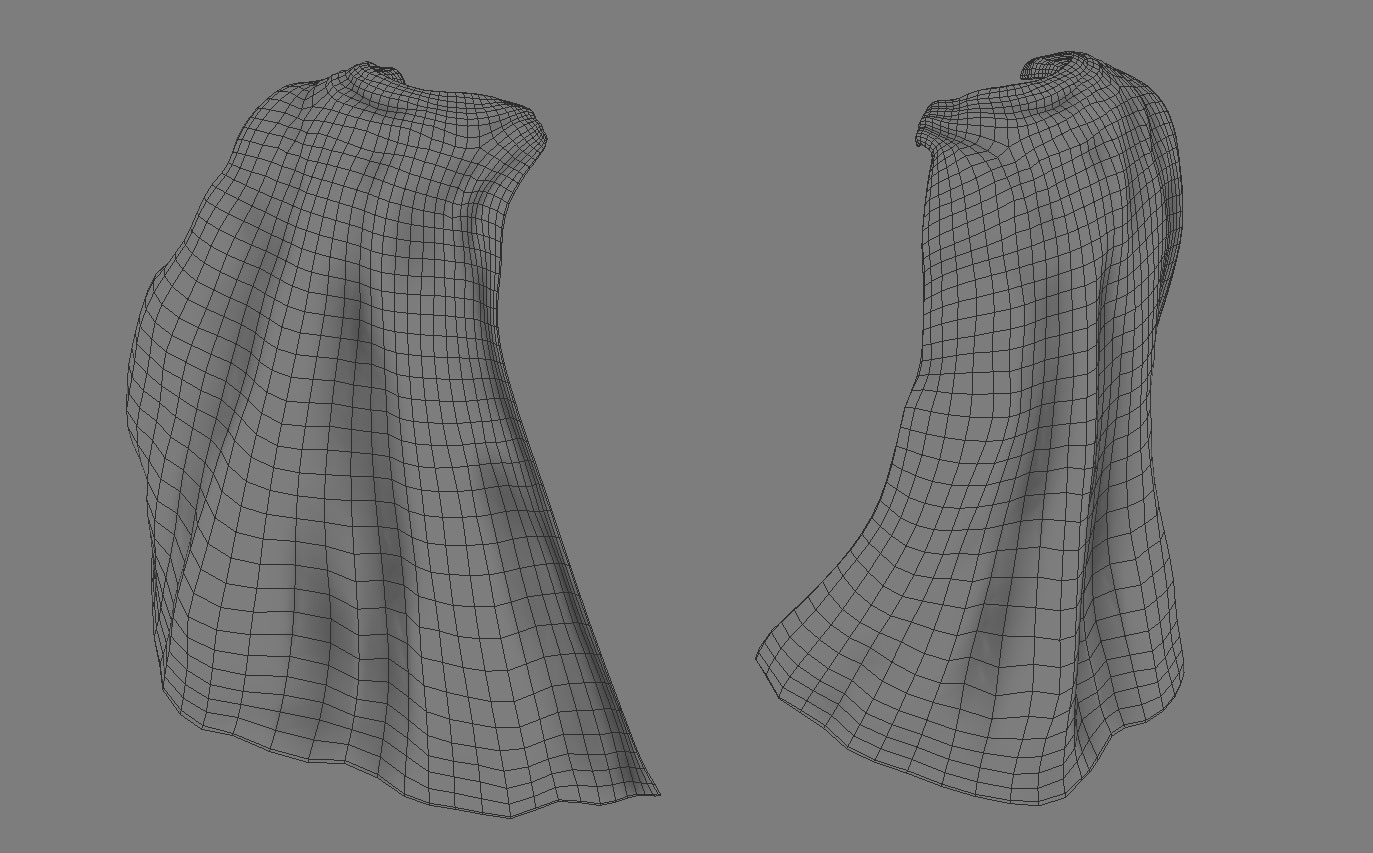
Finally, I modeled the belt and cape trying to keep the square faces as much as possible in order to subsequently apply a textured surface noise and have detailed uniformity.
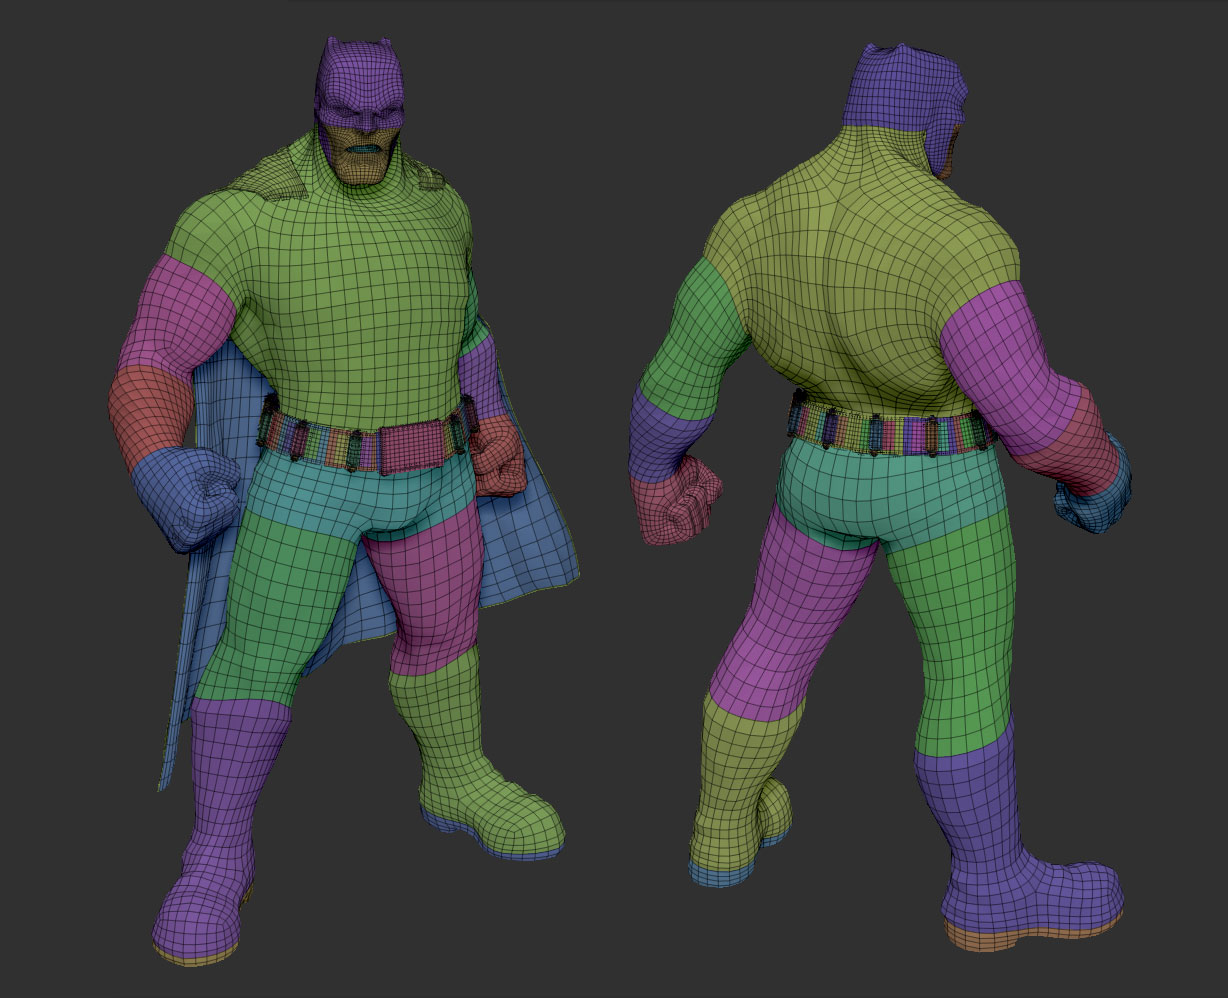
I decided to map my model immediately, to take advantage asap of the opportunity to save masks made inZbrush, so that the creation of textures would be easier.
Unwrapping in 3ds Max doesn’t reach the levelsof UV Layout ( www.uvlayout.com ), but it is still quite effective.
Apply Unwrap UVW modifier on the retopoligezed mesh, open the ‘UV editor and begin to define the seams of your mapping.
I re-imported my retopologized model and I transferred the detail of the previous on it, with the function Project All (SubTool-project)
By definition of the UV, I got the polygroups automatically – especially useful at this stage to better define the transitions of the materials in the costume and the passage custome to the skin of the face.
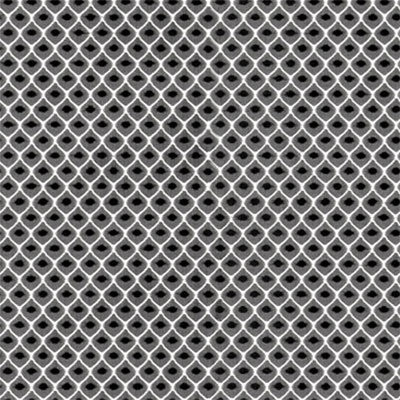
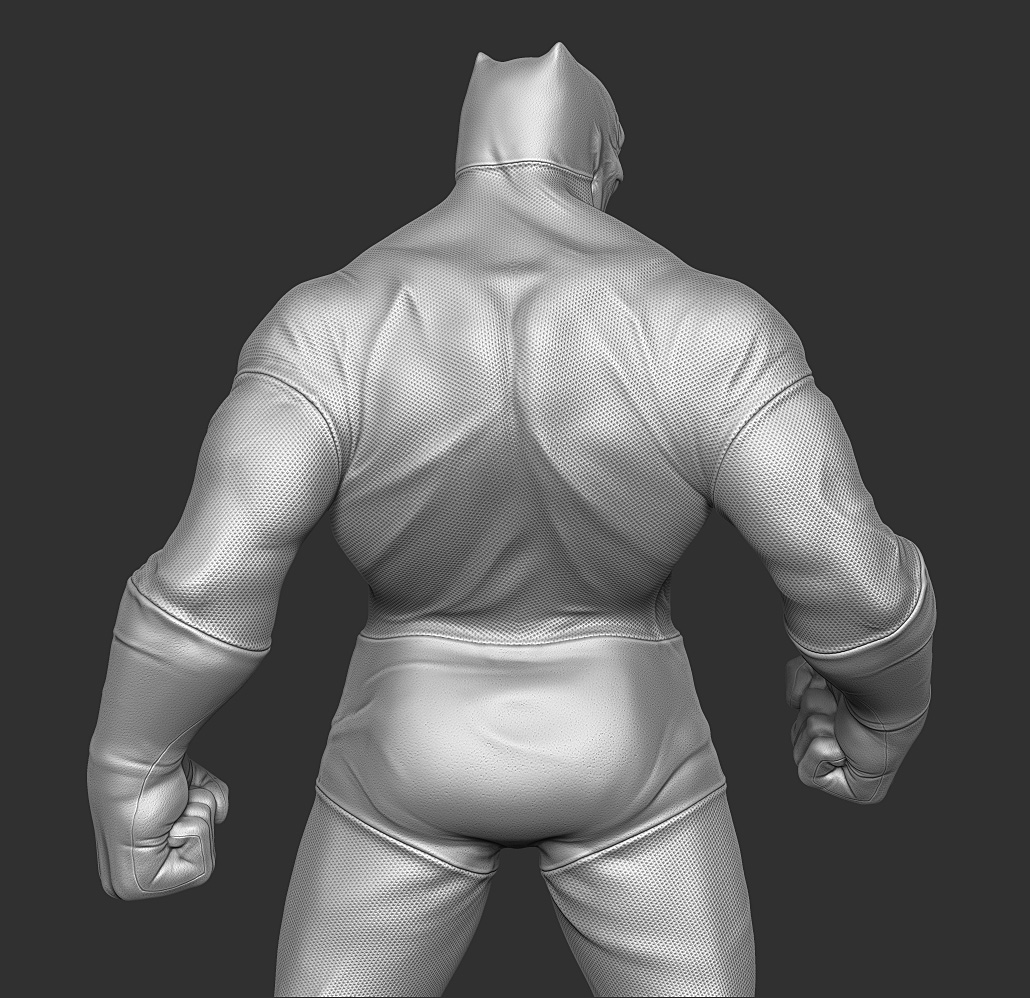
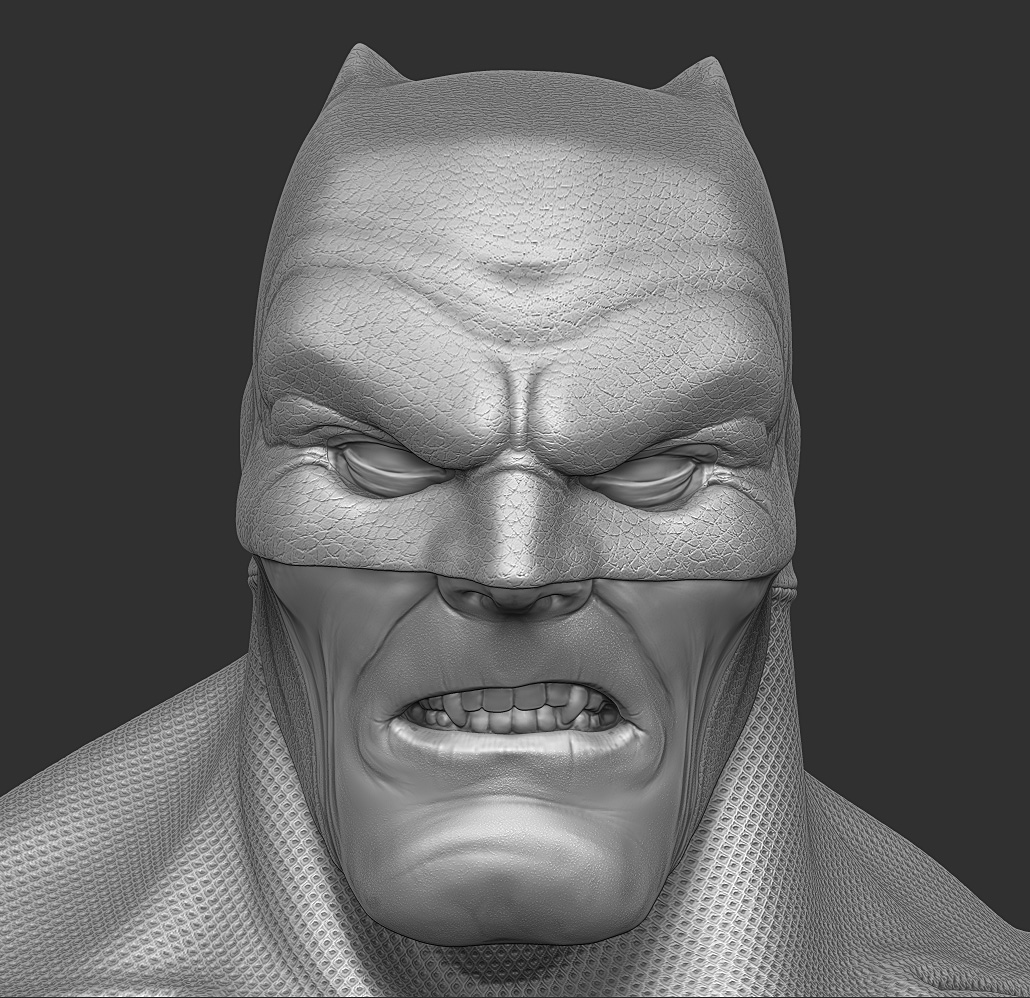
I continued sculpting adding detail to the point that I wanted, after that, thanks to UV, I created the micro-details of the tissues through “surface noise” using textures that I had prepared earlier.
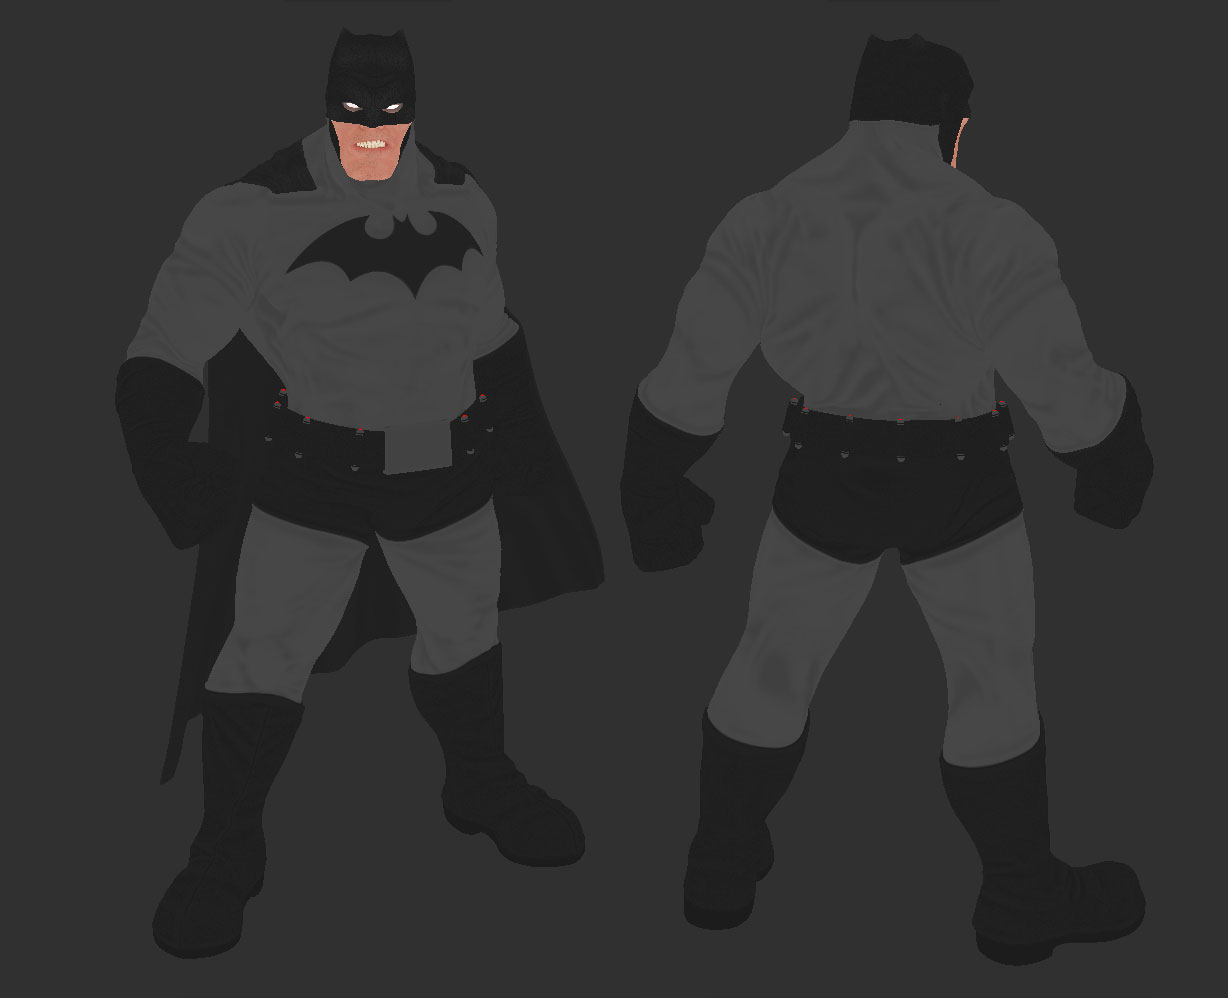
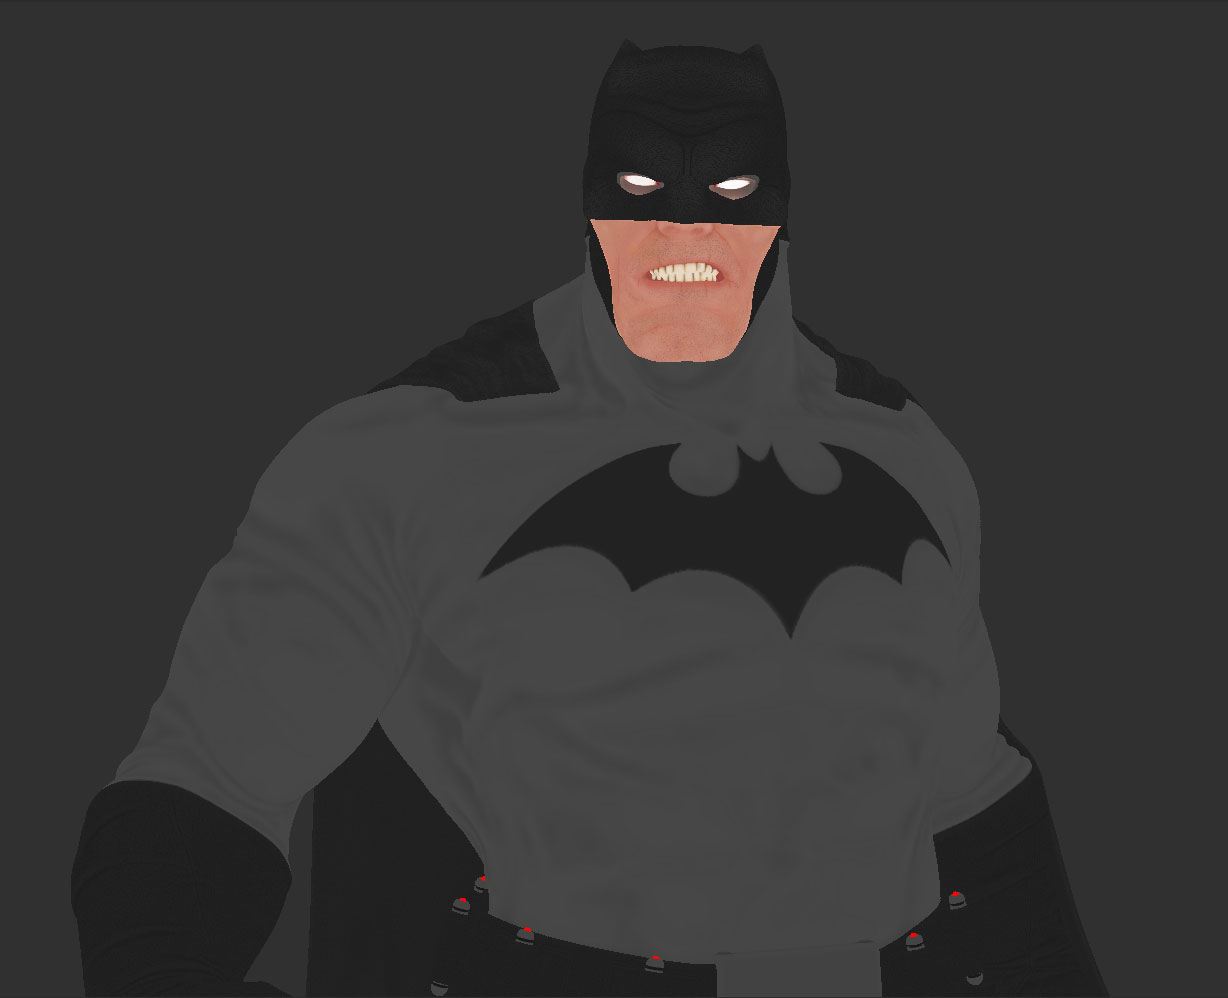
The textures were created without the projection of pre-existing ones, but using the detail in this sculpture as a possible mask. Everything was hand painted.
I started by creating the basic colors and using the excellent features of masking provided by ZBrush to create the details necessary to my purpose.
In addition to the diffuse texture, I created the displacement maps, needed to recreate the detail on the base mesh during rendering.
Here are the settings of the multimap exporter for saving displacement maps (an excellent tutorial on displacement workflow can be found here: http://www.cggallery…s/displacement/ ).
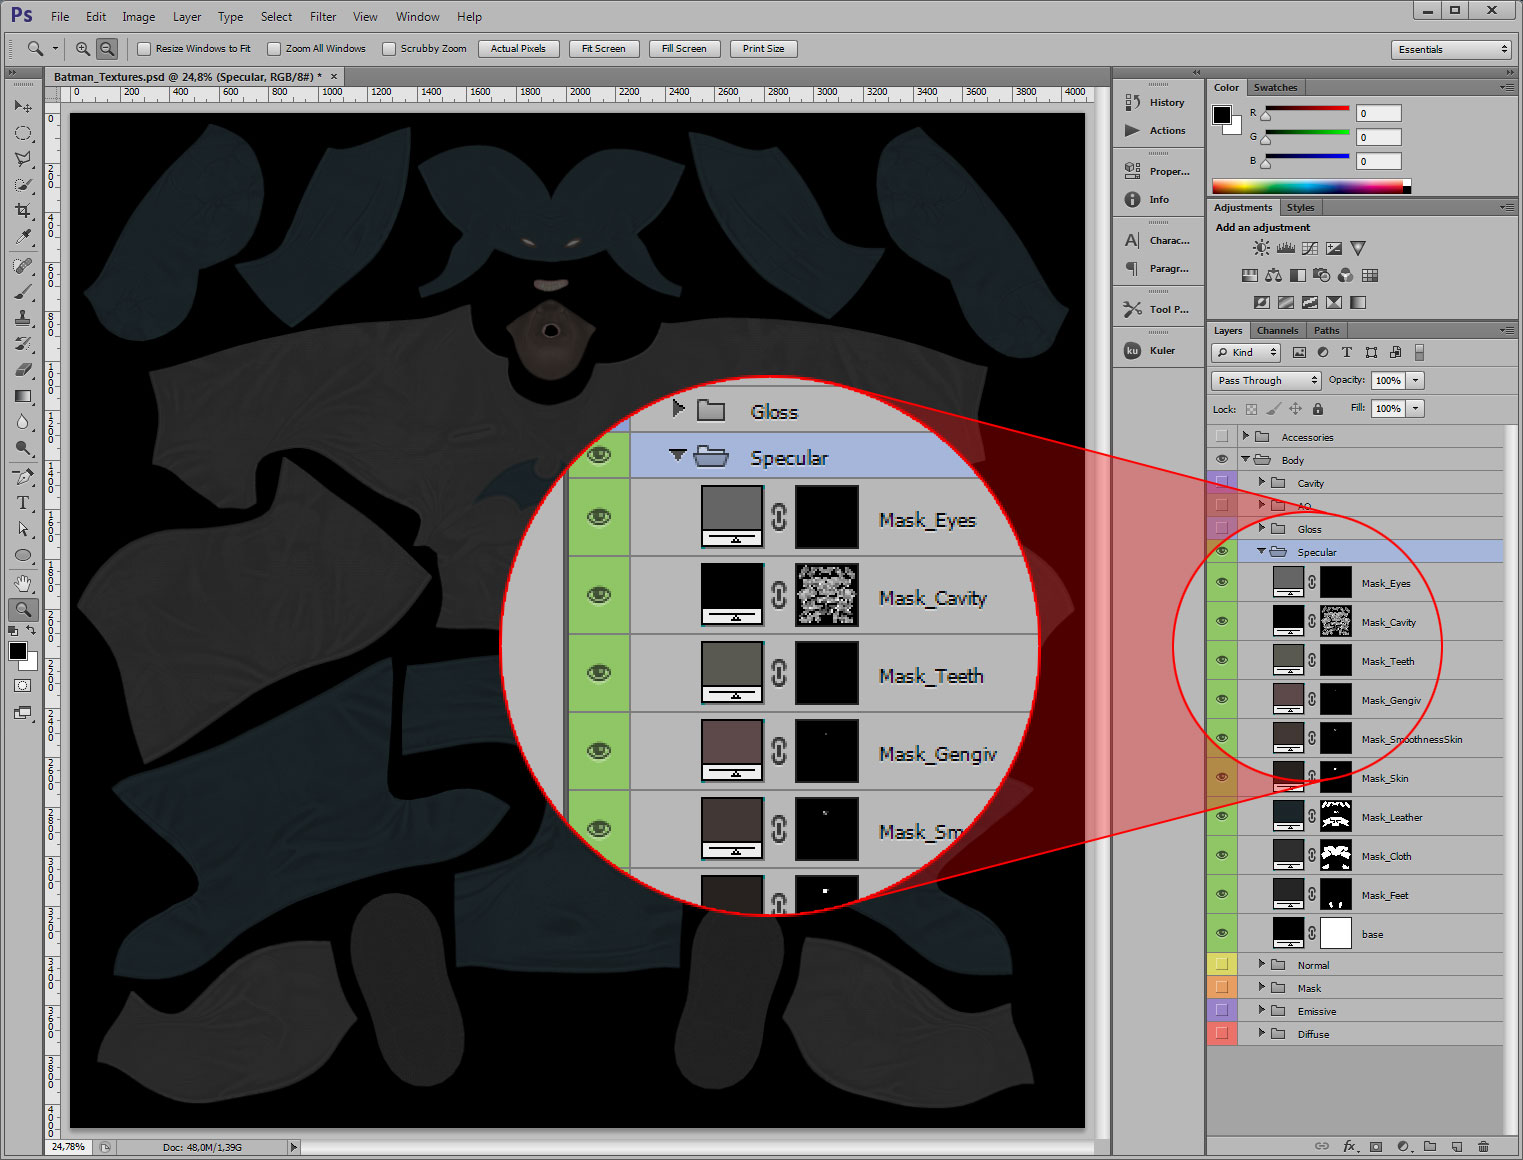
The creation of secondary textures, such as specular, glossiness and emissive, was made in Photoshop using masks exported from ZBrush on solids.
This system allows very fast tweaking because all you need to do is double click on the solid to have the ability to change color on the spot.
All textures were made at a resolution of 8192×8192 since I had no memory limits to be respected.
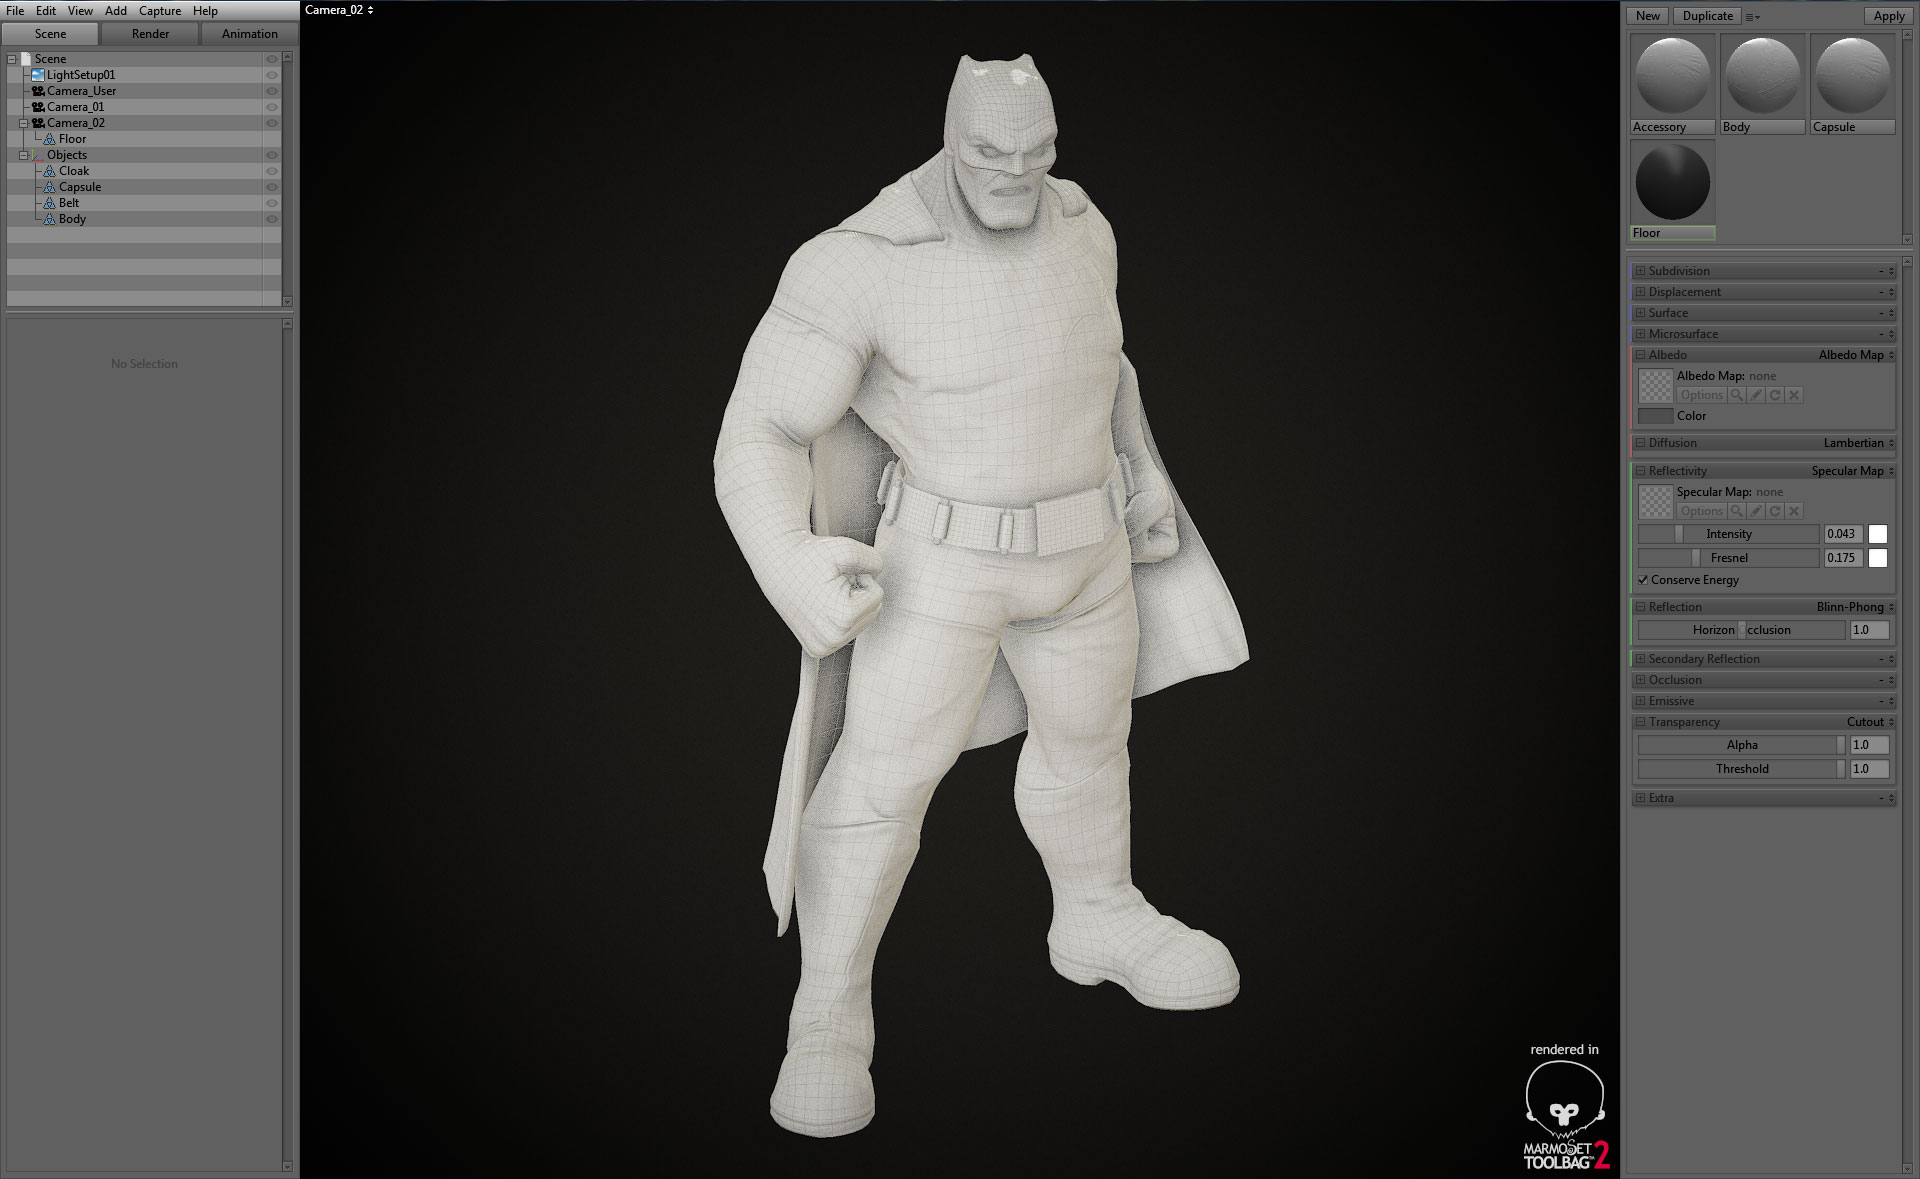
In the meantime I set my scene in Marmoset Toolbag 2 in order to check any change on the textures quickly, as it is only needs the time to refresh the image.
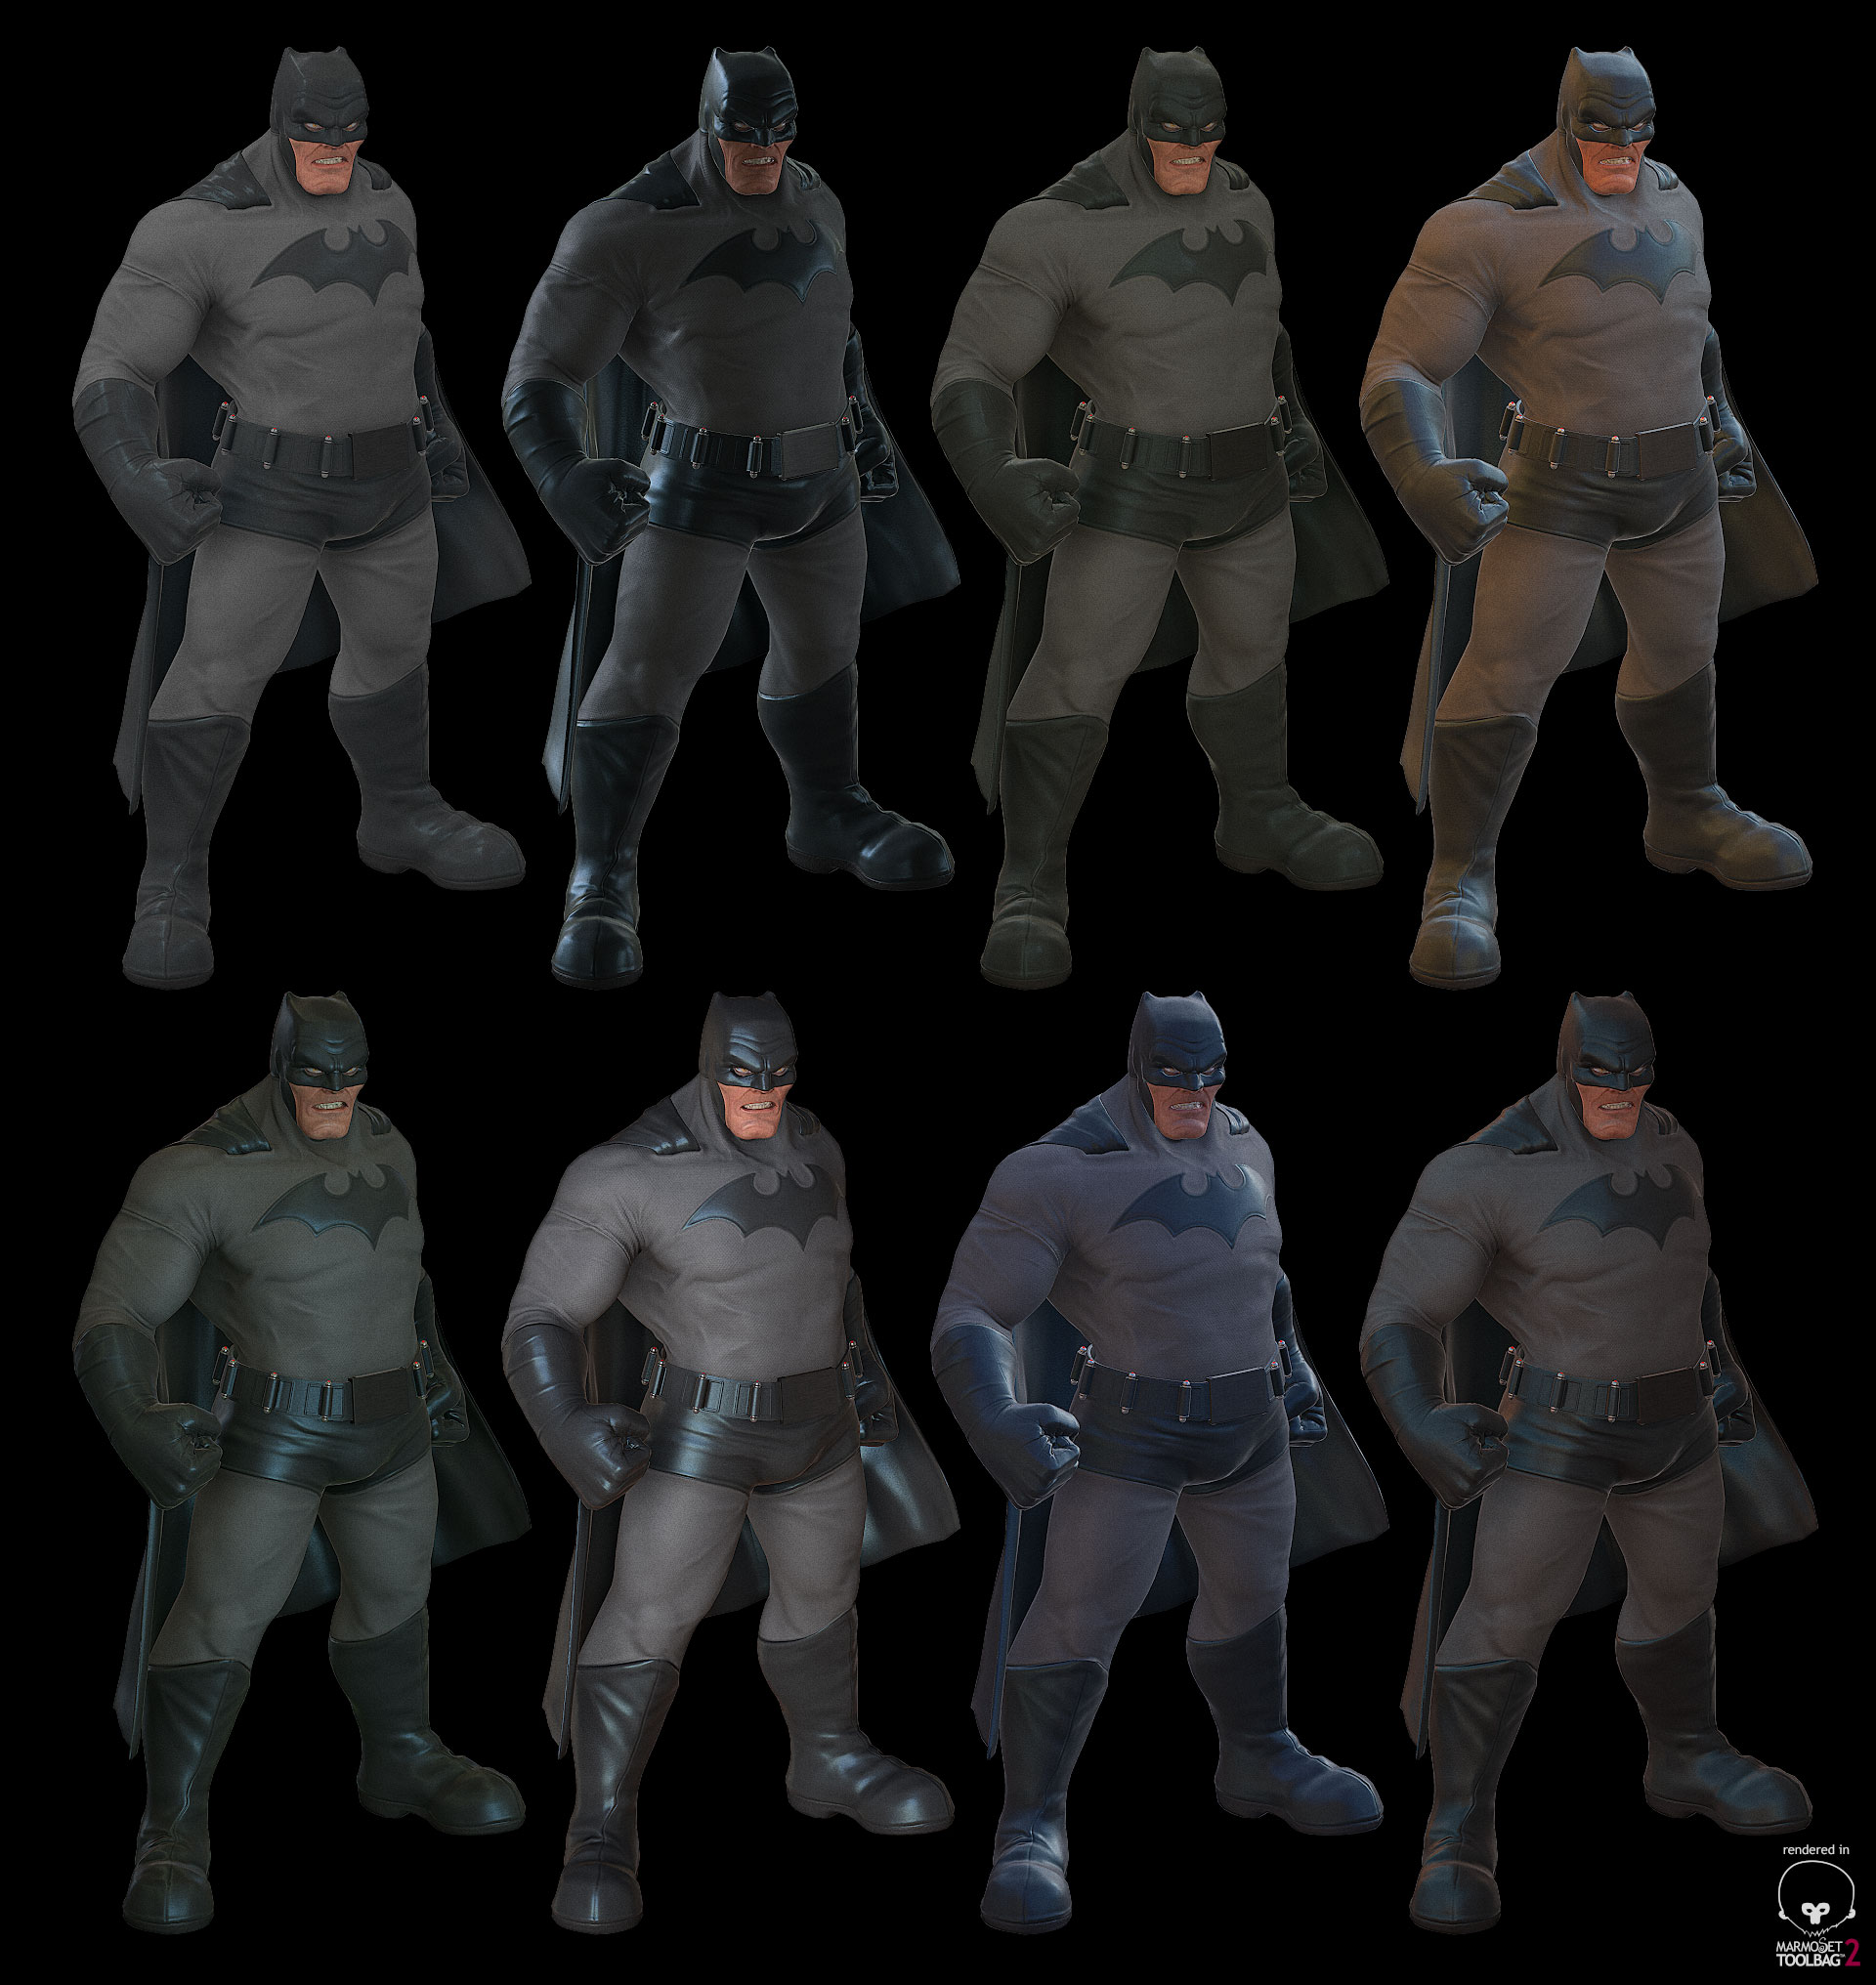
I tried different lighting conditions to ensure that the specular and glossiness textures were correct, and that they reproduced the diversity of materials that I wanted.
The rendering engine I chose is V-Ray, which I’ve used for many years. I really like the result and I am comfortable with its many parameters. The version is 1.5SP6 (a bit dated, but it’s the one I have a license for).
Import the meshes and add VRayDisplacementMod, using these settings and remembering to use the map as a container of your VrayBmpFilter Displacement Maps, because it gives better results not applying any blur filter to the image.
For the materials I used VrayMaterials only, since the lighting results are more correct.
The first step was to assign basic textures (always through VRayBmpFilter) of Diffuse, Reflection, Hilight Glossiness and Reflection Glossiness. The bump textures are obviously not neccessary since we are recreating the geometric detail during rendering thanks to Displacement maps.
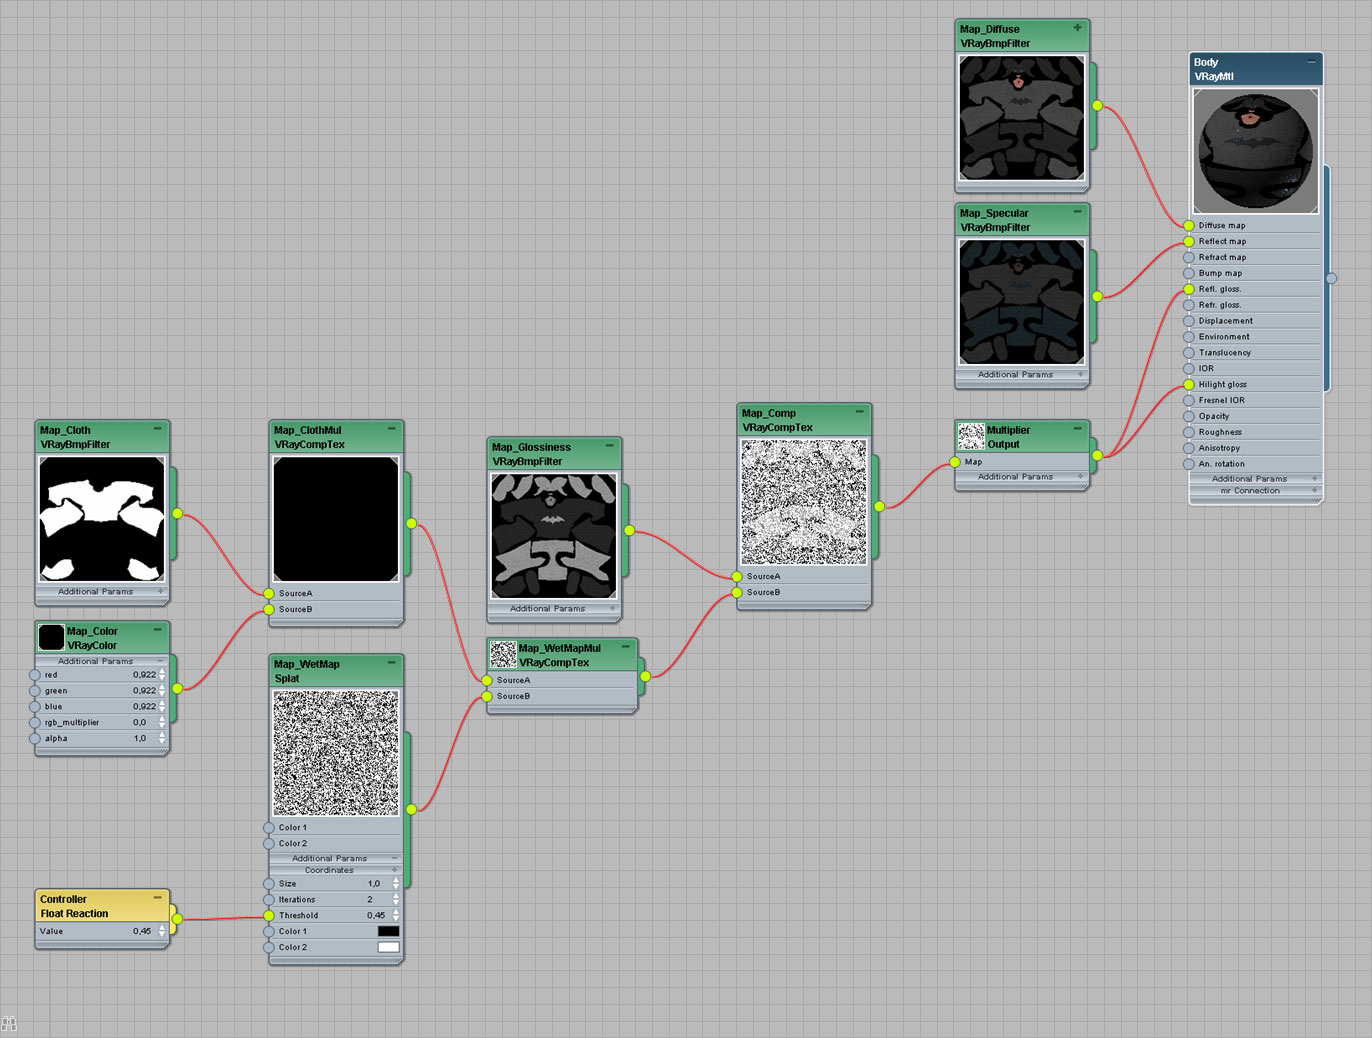
To implement the wet effect, I created a wetmap with the procedural texture by 3ds Max called Splat, and combined it with the texture that I use as Hilight Glossiness and Reflection Glossiness by VRayCompTex, everything is then loaded into an Output map to be calibrated better.
The drops of water on the character were created geometrically, shaping a single drop and using the compound object Scatter over the entire surface, varying the scale and rotation.
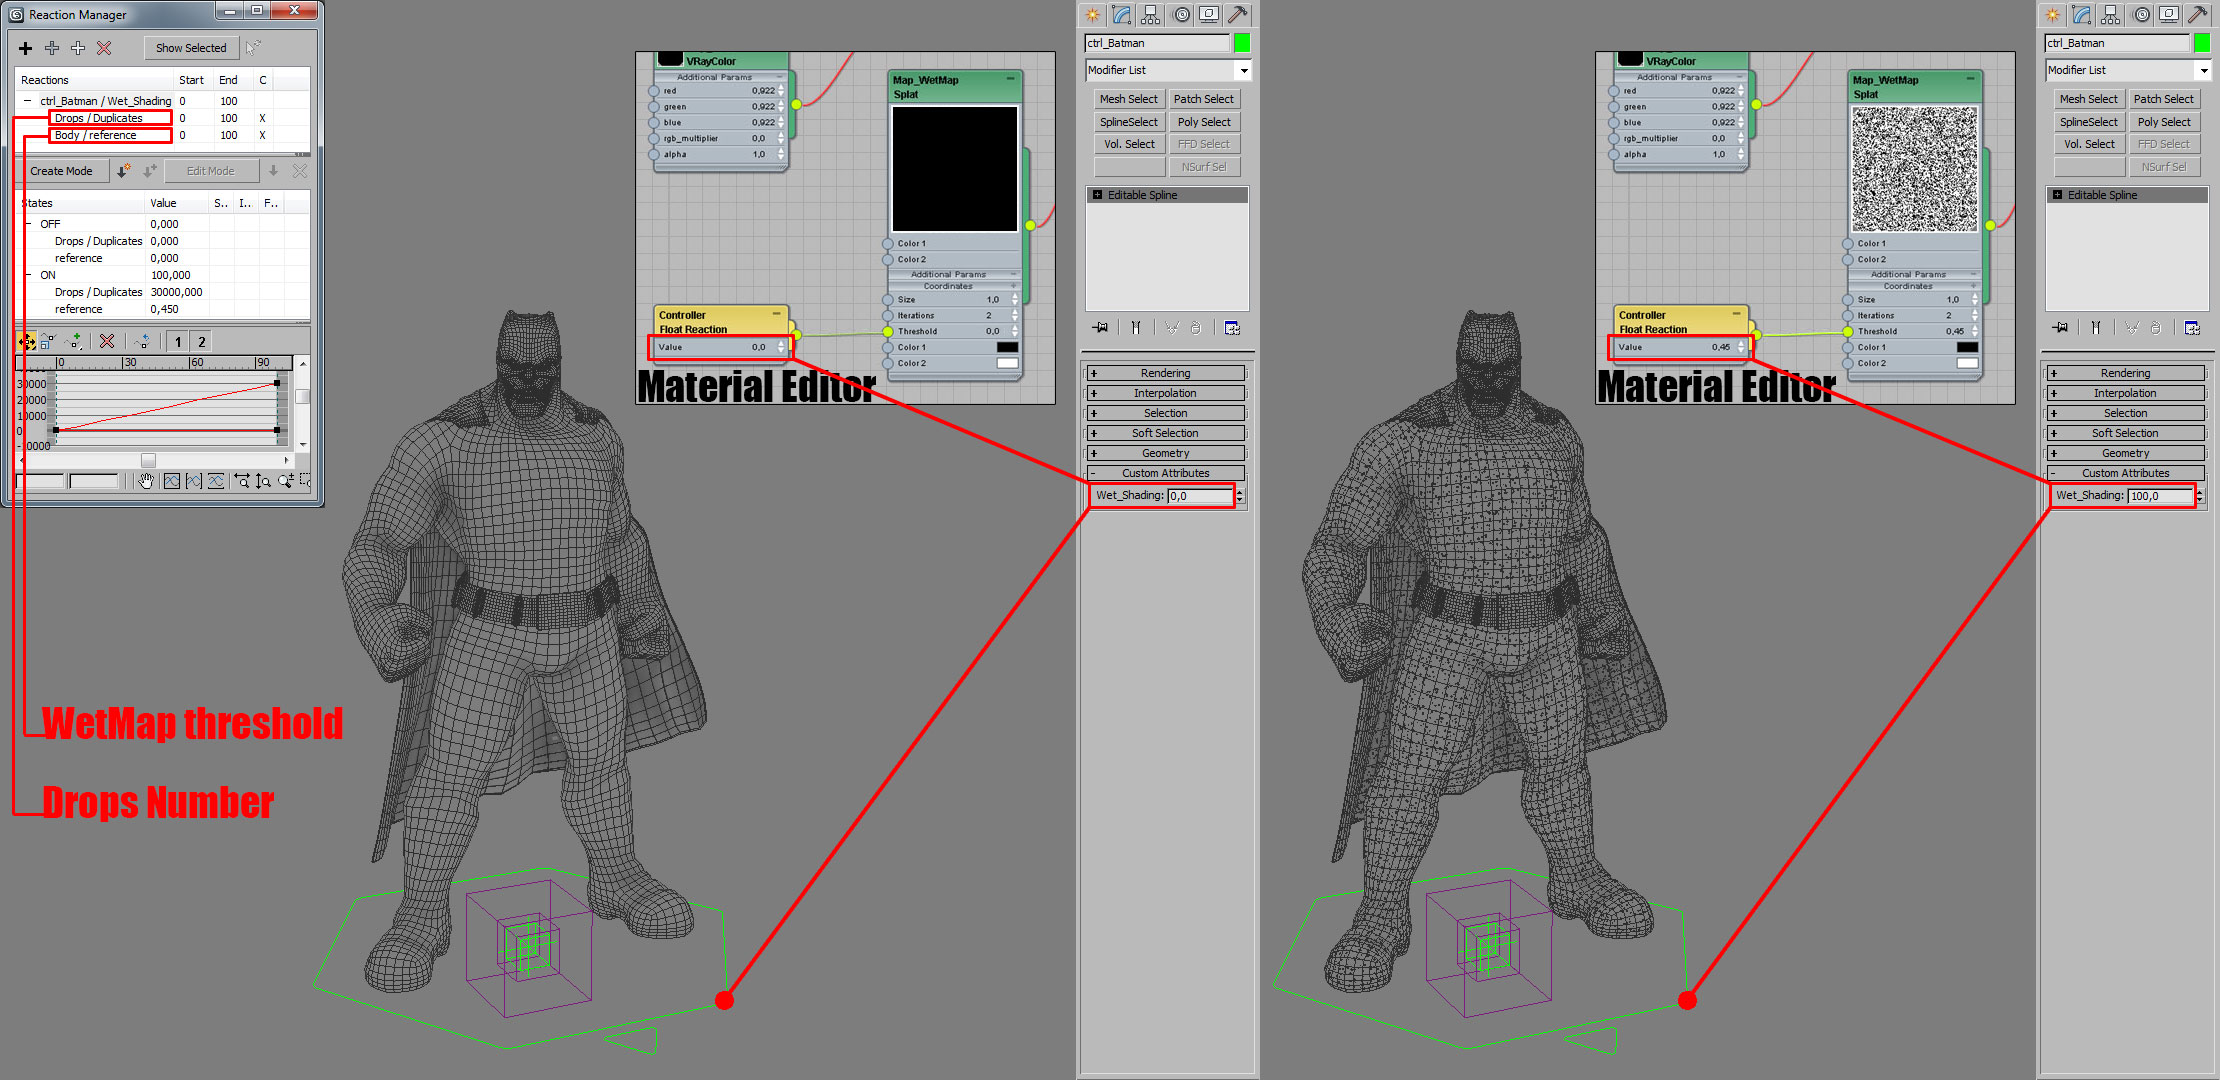
For my convenience during the lighting phase, I decided to create a mini-rig of the wet effect, to be able to decide the amount of drops and glossiness of materials.
To do this I used the reaction manager by 3ds Max, thanks to which I linked the Threshold values of the Splat map (common to all materials) and cloned objects using Scatter, to a controller assigned via the attribute editor.
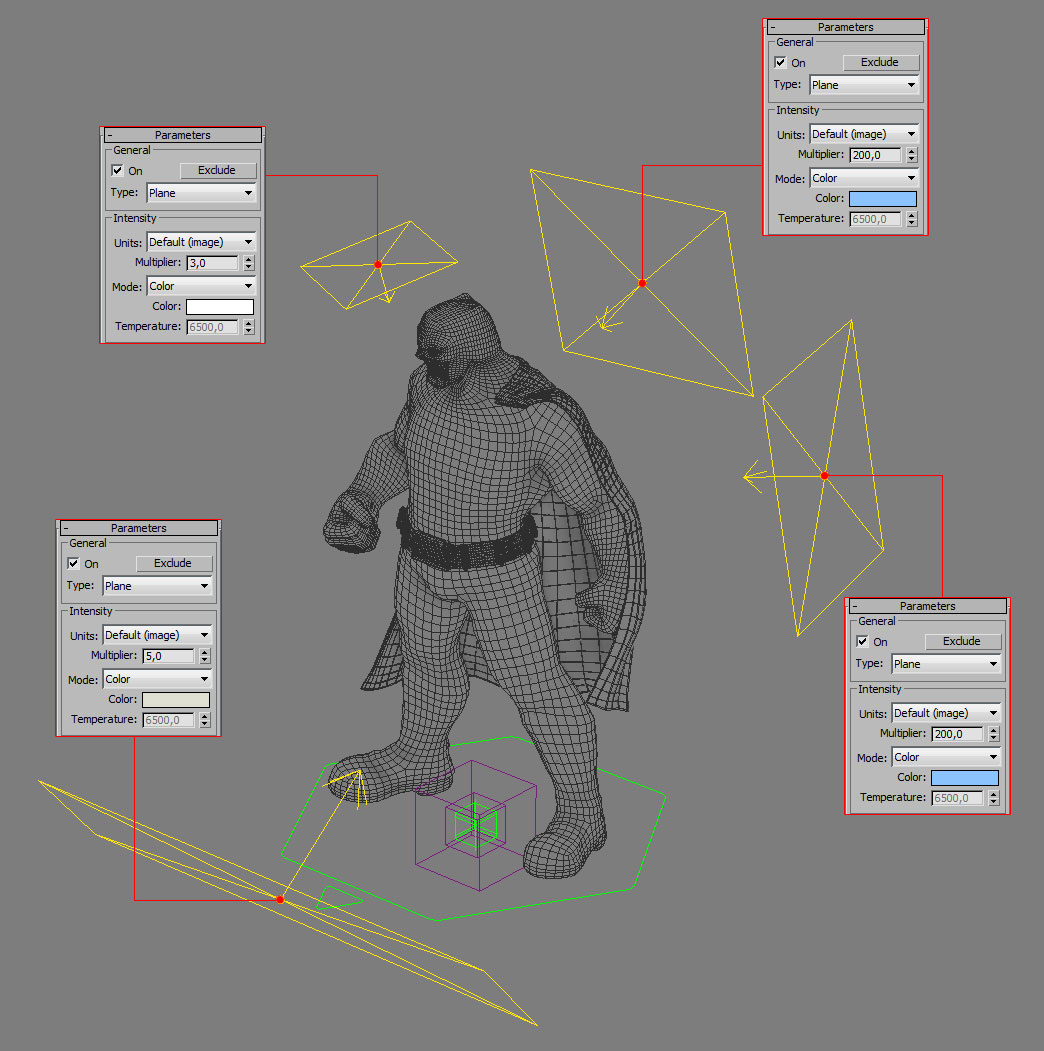
The light setup is relatively simple, the scene had to recreate a nocturnal atmosphere, slightly smoky, and most of all with the rain and the character dominating the scene.
I thought that the subject could be lit up by a glow produced by a lightning, with one or more very strong light boosts, almost burnt.
Overall there are 4 lights plus a specified HDRI for the reflections of the environment (not influencing the lighting of the scene).
As for the room, I used the V-Ray Physical Camera, which allows you to use typical photography parameters (aperture, sensitivity, shutter speed etc … etc …).
I chose a focal length of 100mm to avoid deforming the subject, and I decided not to apply any depth of field effect, always addable in post-production (decreasing render time ).
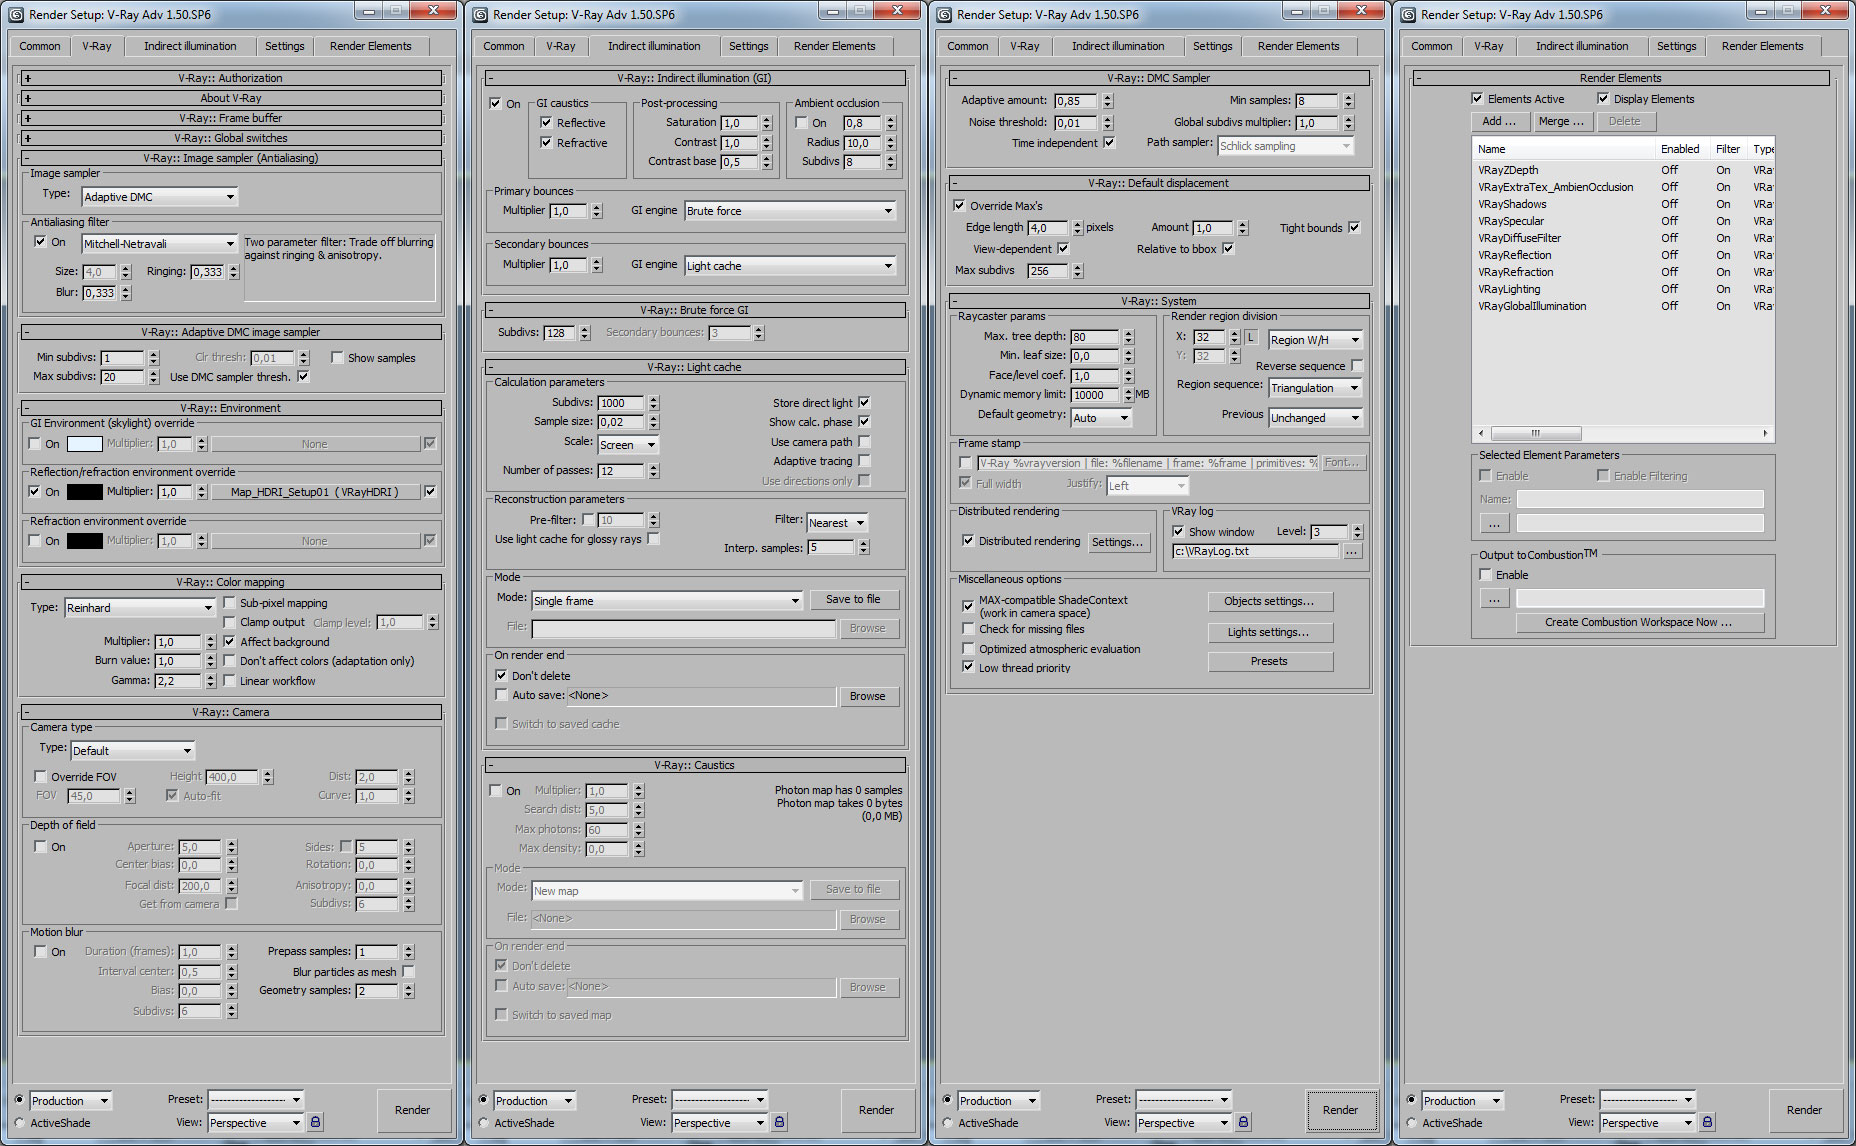
To fasten up things, below you will find a picture with all the render settings. Optimization of these is a critical step when using V-Ray, otherwise you are likely to have a picture with too much noise, or very long render time.
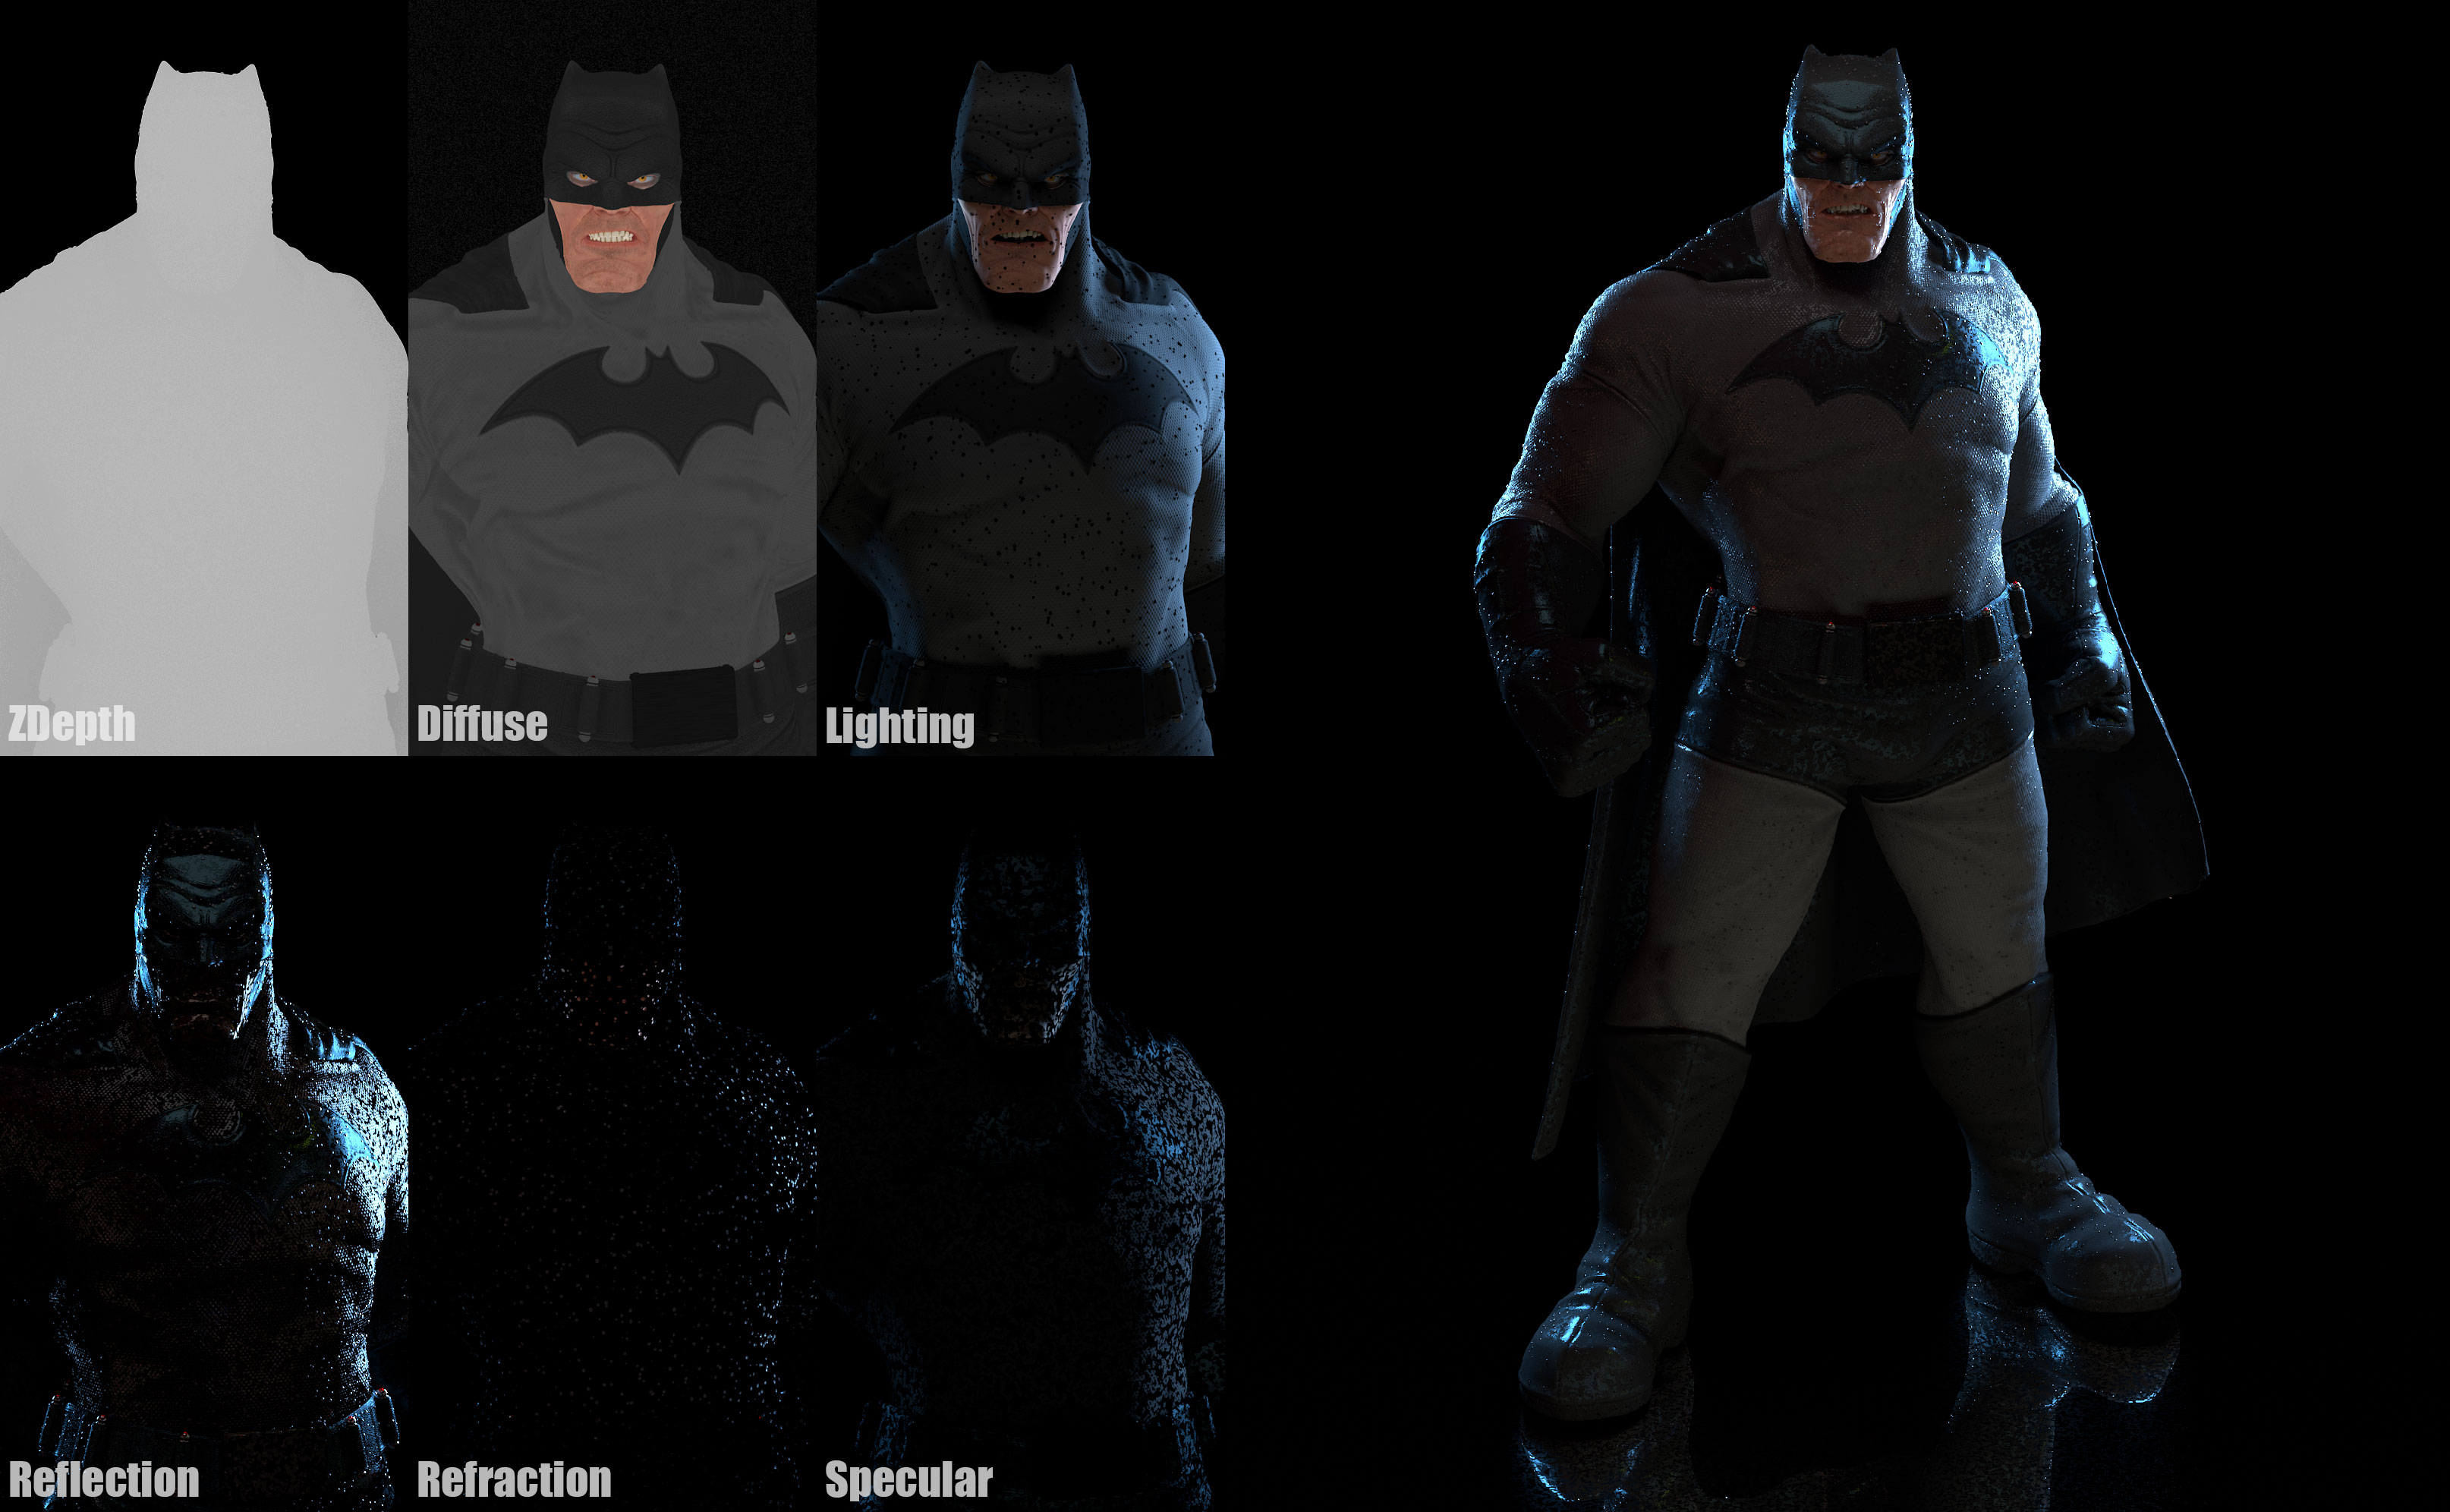
Thanks to render elements, I was able to break down my image in multiple elements in order to have the possibility, if necessary, to work on the various components in a targeted manner.
The steps I used were:
- Vray DiffuseFilter
- Vray ZDepth
- Vray Lighting
- Vray Reflection
- Vray Refraction
- Vray Specular
- Vray ExtraTex (for Ambient Occlusion)
All these render passes were saved in .exr 16bit format to have a greater color depth, and a higher precision regarding the zdepth.
The image that resulted from the renderer in 3ds Max was close enough to what I wanted as an end result. However, I preferred to have all these elements separately, in order to make micro adjustments and better balance the entire image better when adding the background elements and effects.
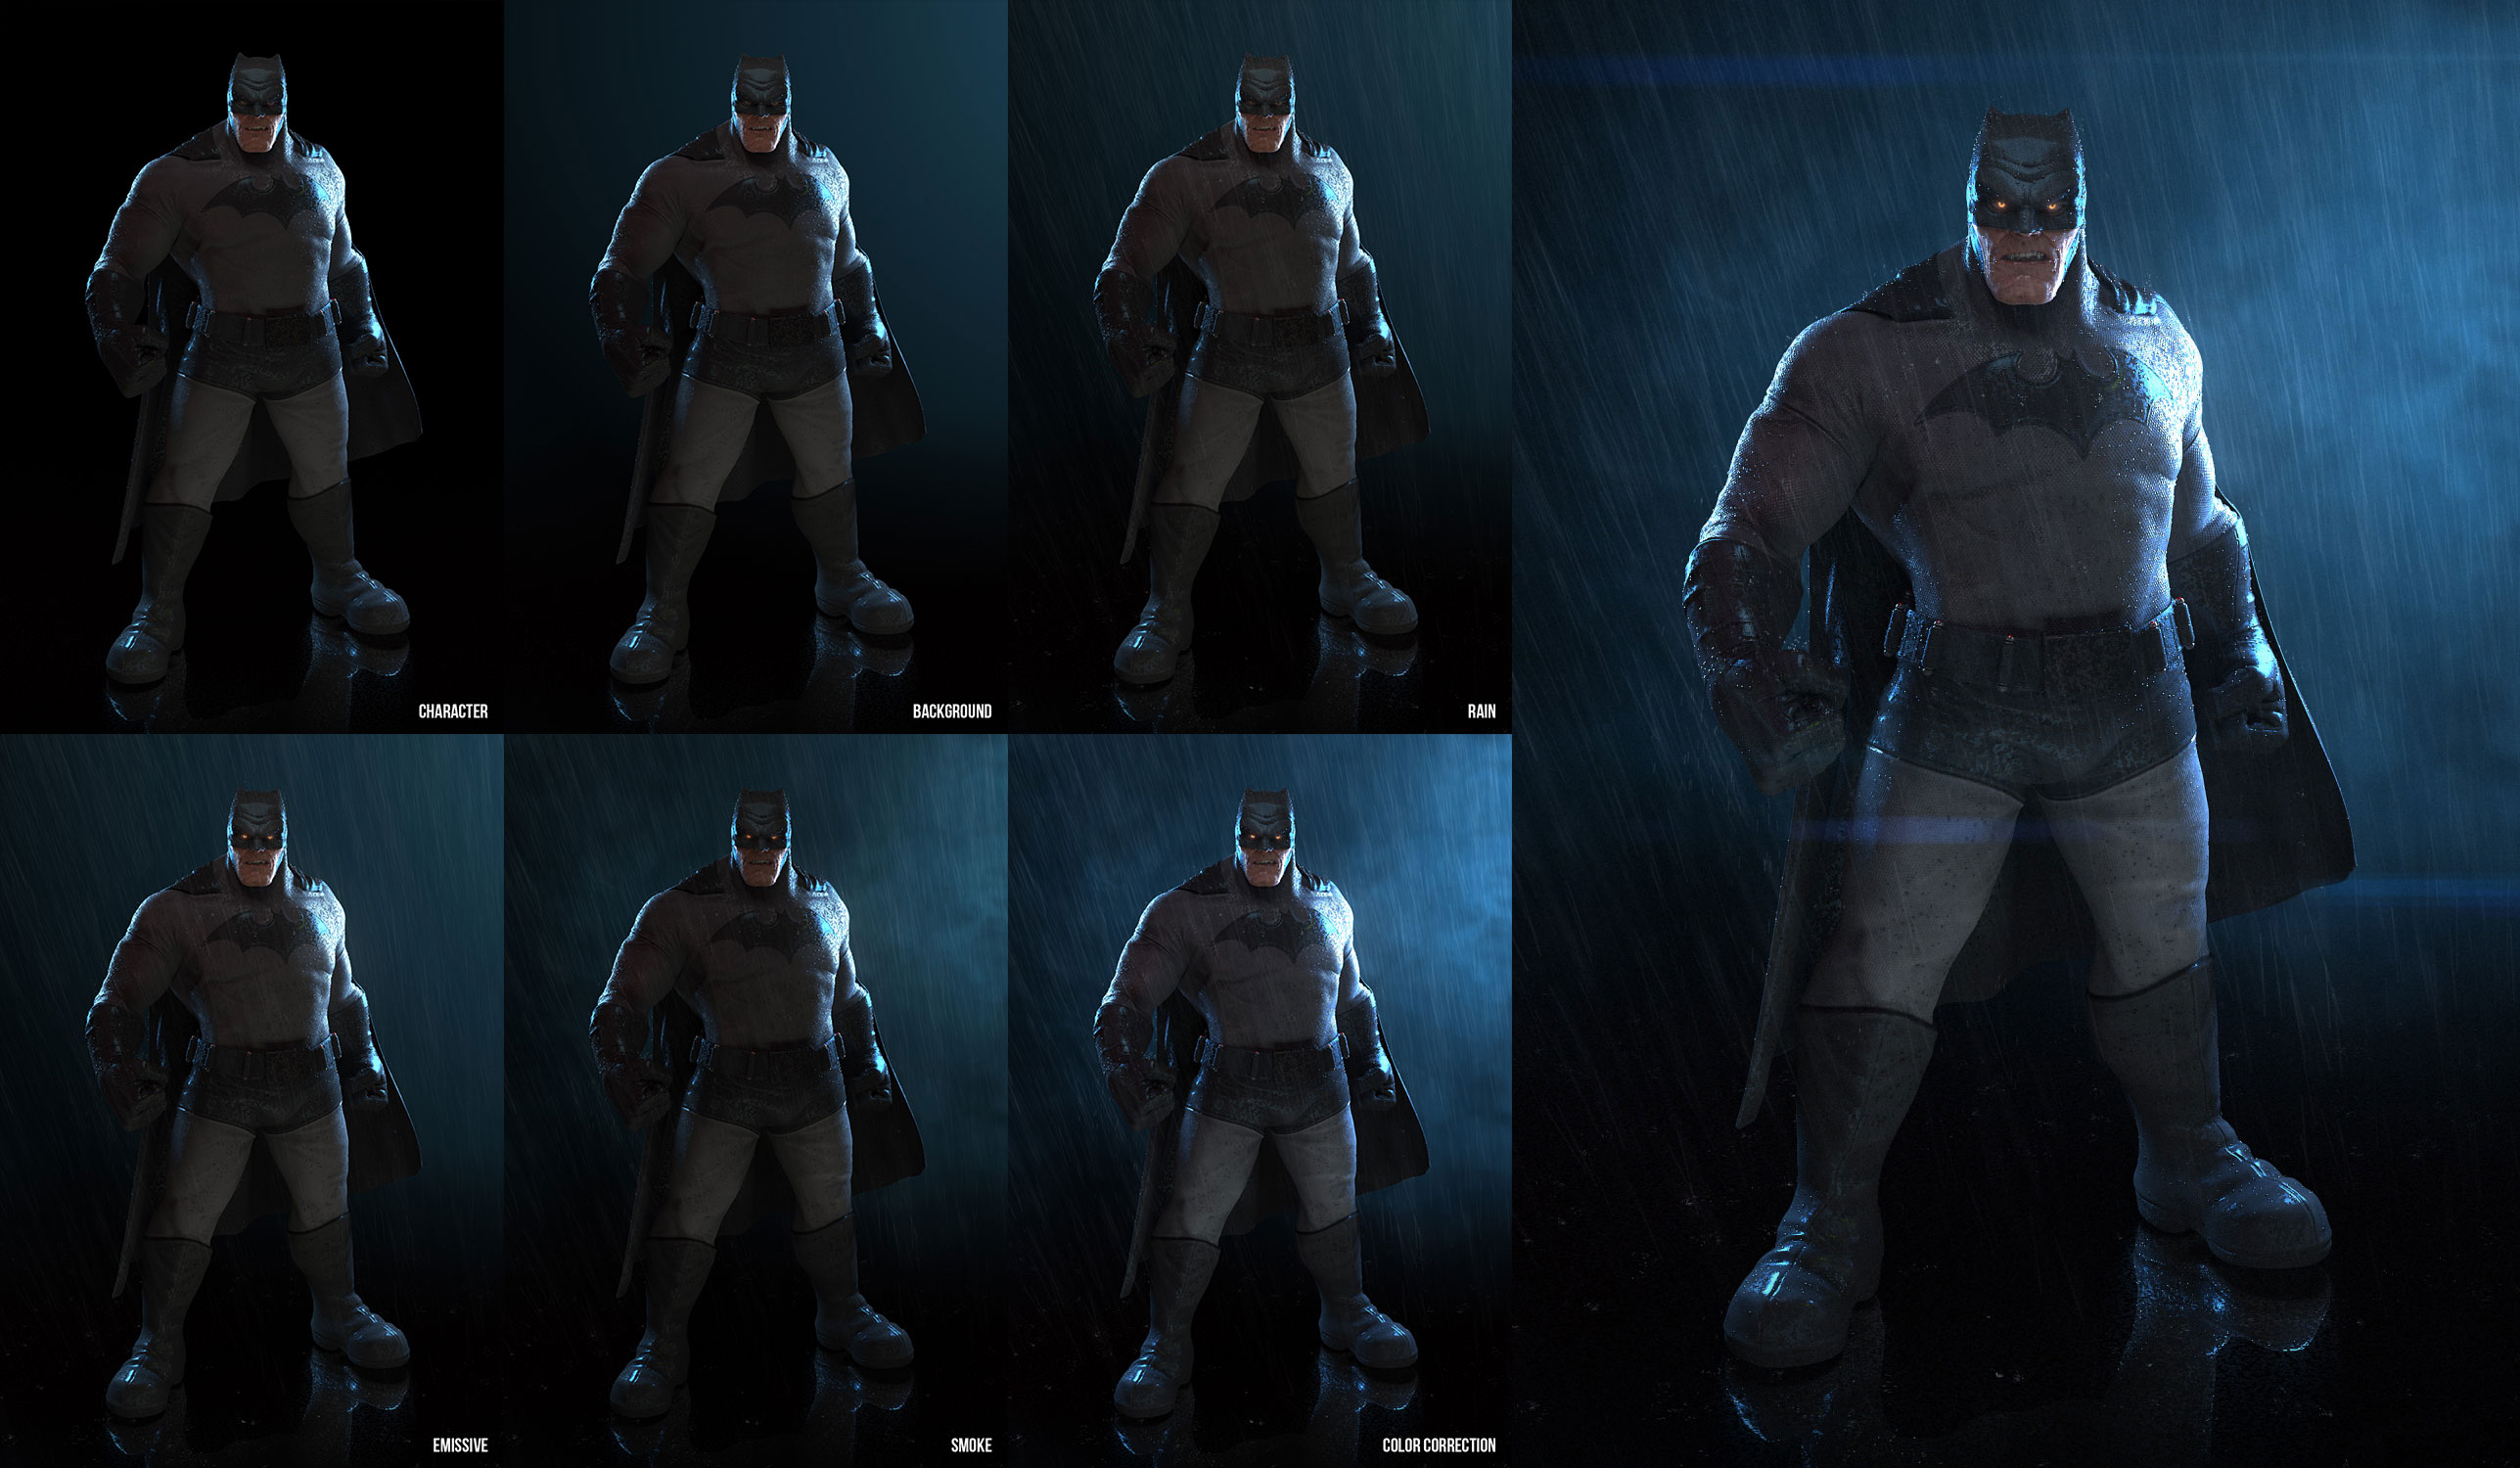
To create the bounce effect of the raindrops on the character, and the ripple of the surface on the floor, I created with 3ds Max PFlow two distinct particle systems, both rendered separately to be integrated in compositing.
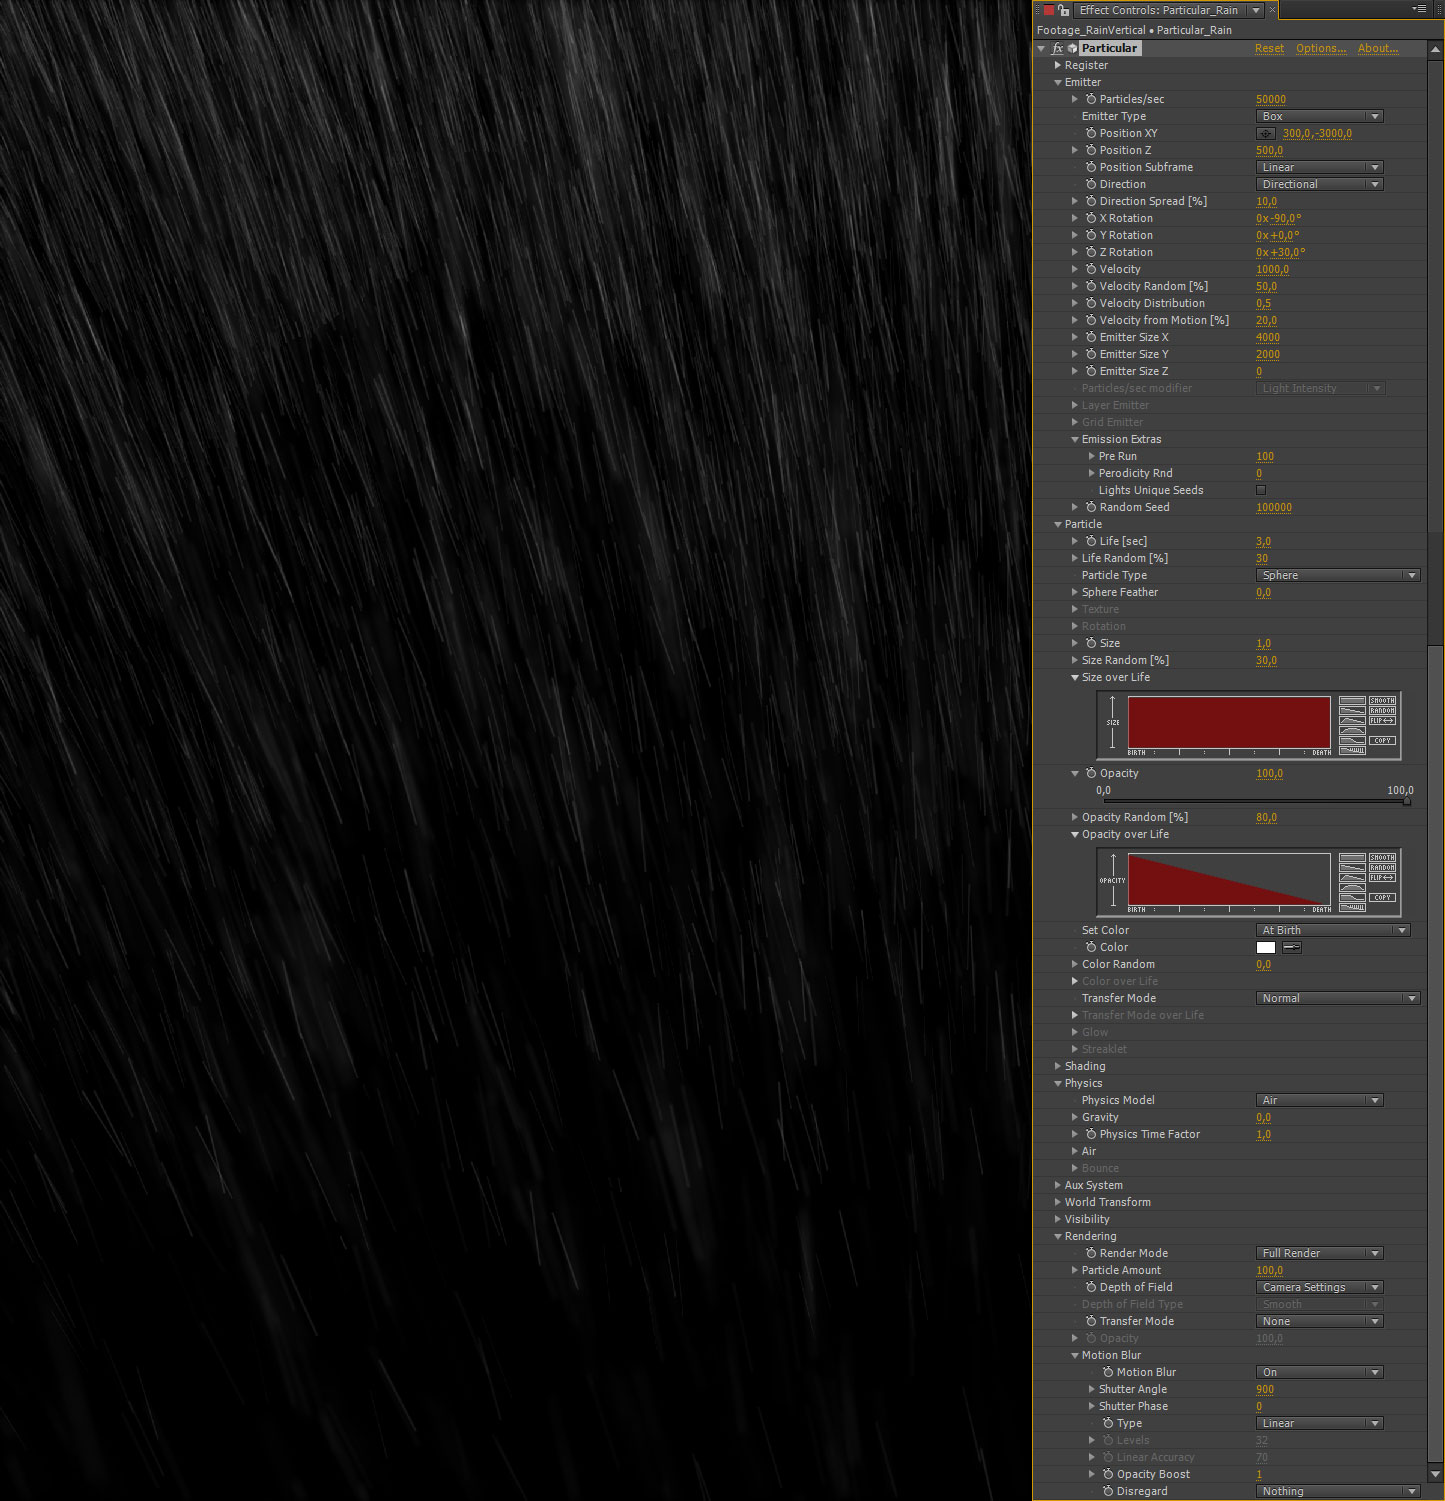
However, for the creation of the rain itself, I used Particular by Trapcode inside After Effects. Originally I had planned another particle system created in 3ds Max, but I had to find another solution because in order to obtain good motion blur and noise, the render time increased a lot.
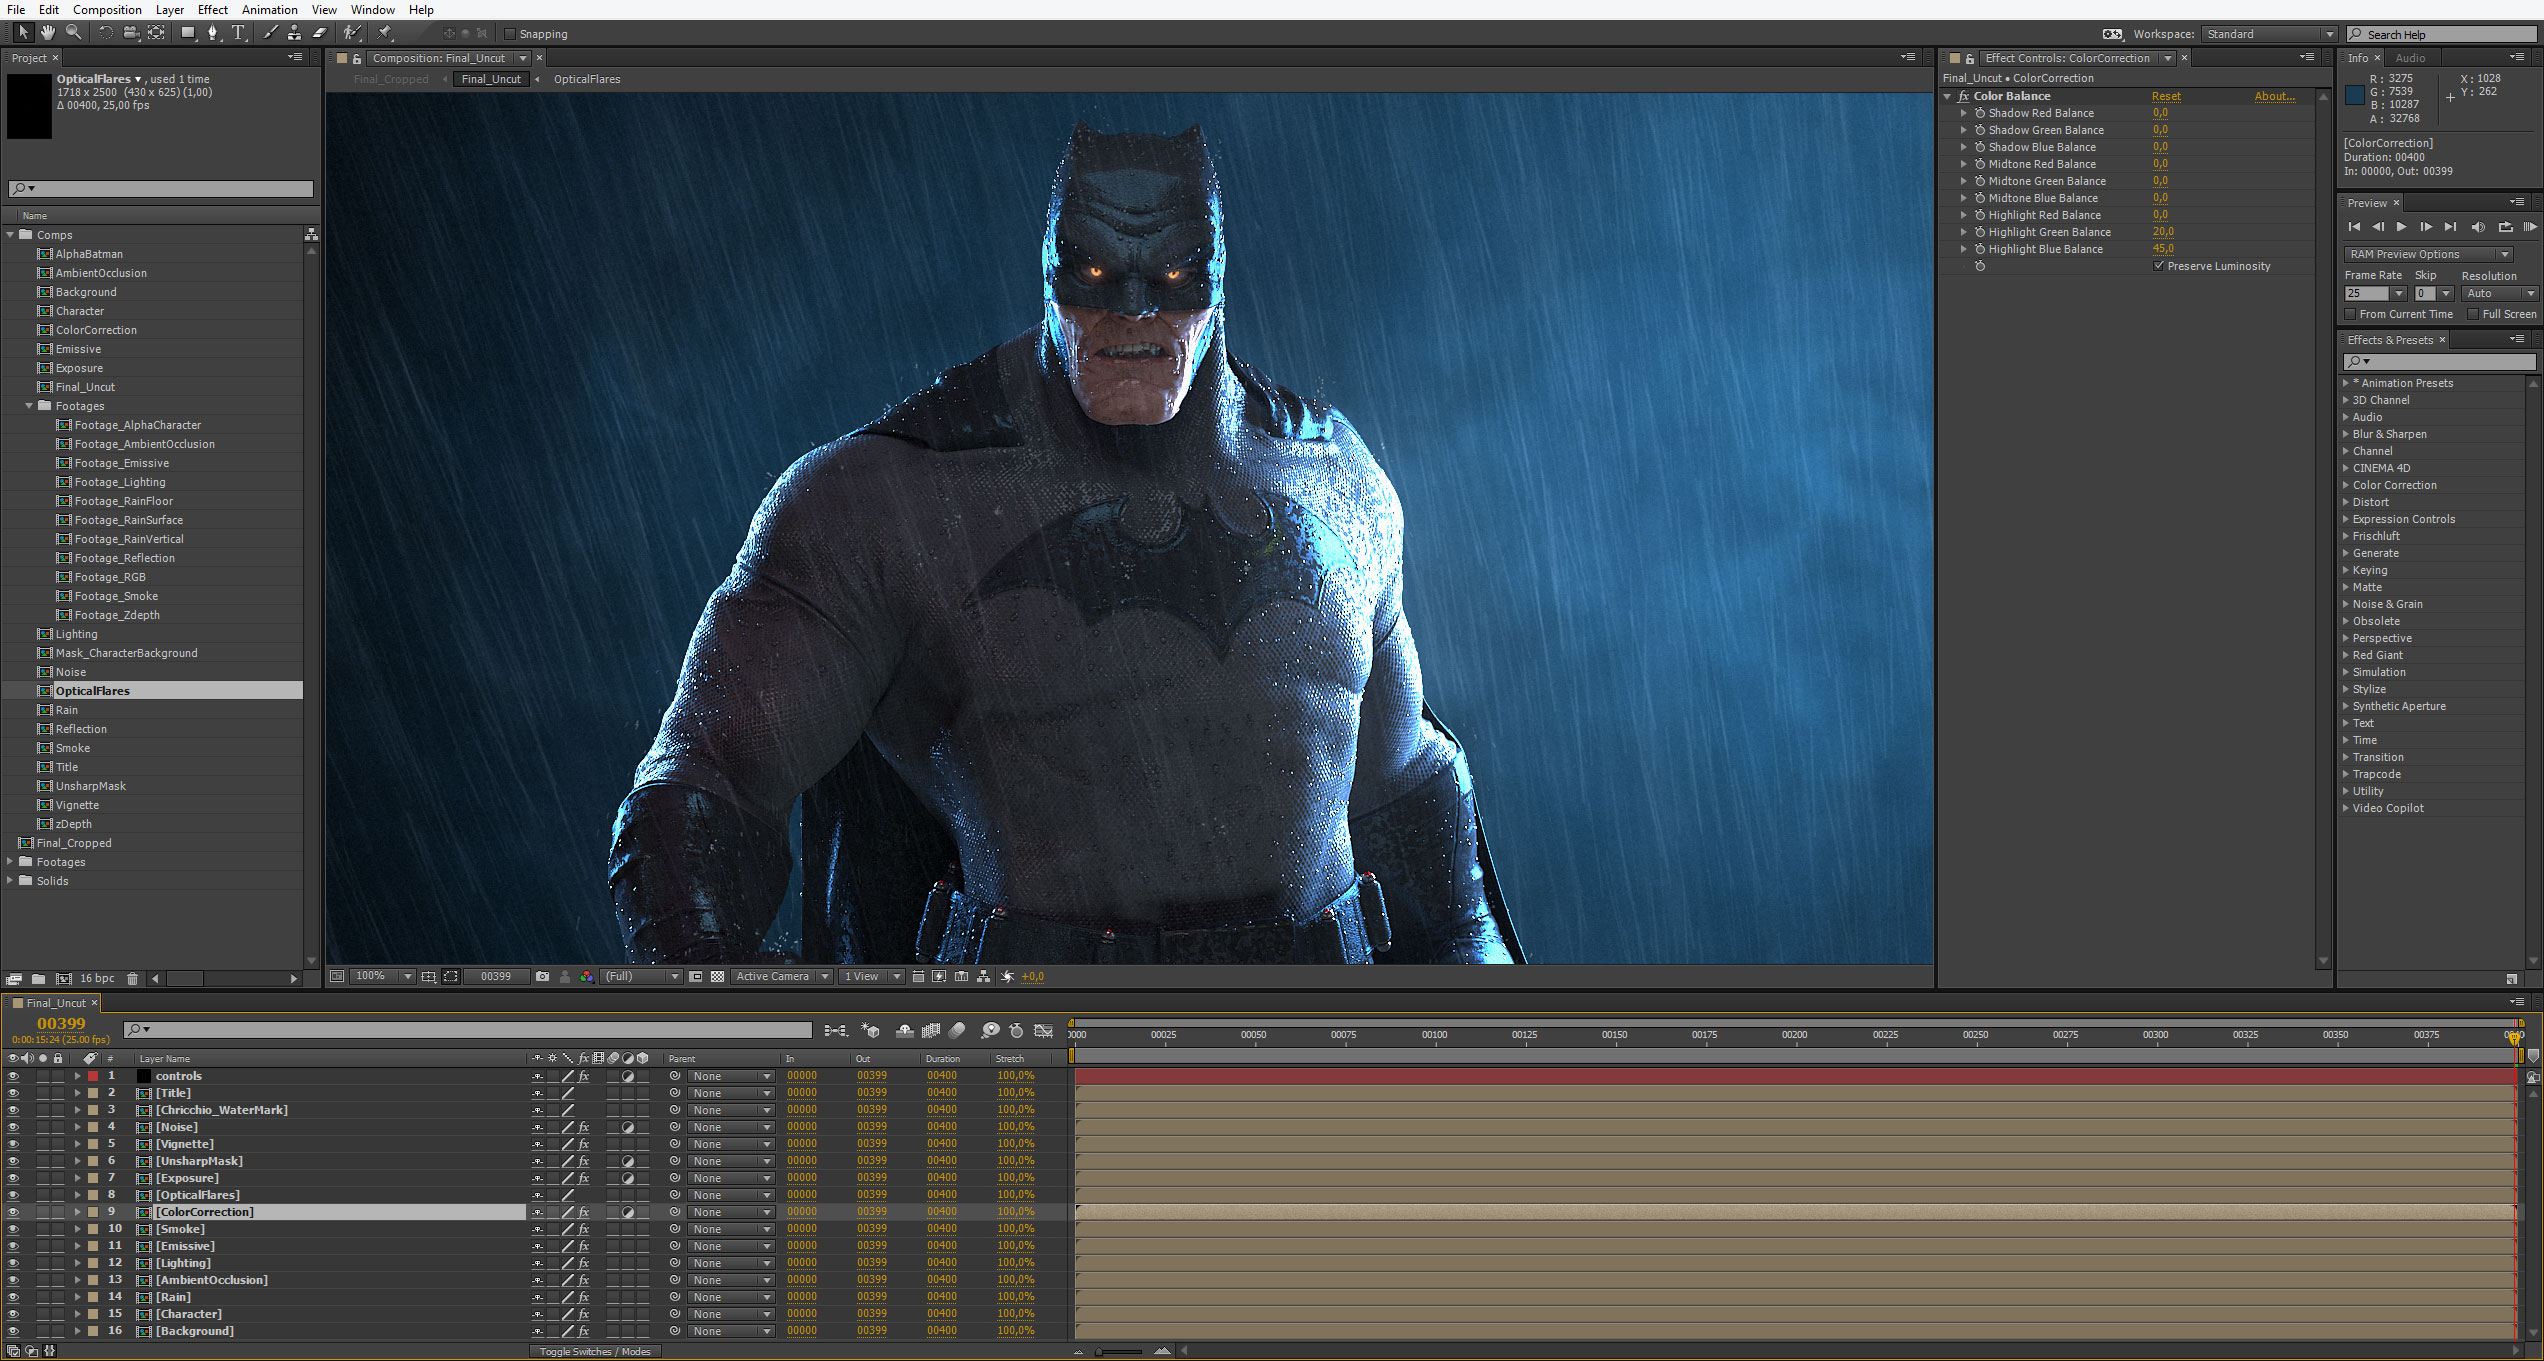
In After Effects, in addition to creating the background and to rain effect, I also made a color correction of the image, slightly increasing the exposure, adding a lens flare using Optical Flares by Video Copilot and vignetting.
I’ve been intentionally generic in some parts of the tutorial to avoid it being too long, but if you have more specific questions please do not hesitate to contact me by email at info@chricchio.com
